Are you having issues with installing Gatsby on Linux? This guide will put you through the steps you need to take.
Gatsby is a Incredible React-based, GraphQL powered, static site generator which uses powerful pre-configuration to build websites efficiently.
Here at Ibmi Media, as part of our Website Support Services, we regularly help our customers to develop Websites for their business.
In this context, we shall look into the steps to install Gatsby on Linux and how to use it to customize websites.
More information about Gatsby?
Gatsby combines React, GraphQL, webpack and other front-end technologies to provide a great developer experience.
It uses static files for incredibly fast page loads, service workers, code splitting, server-side rendering, intelligent image loading, asset optimization, and data prefetching capabilities.
This is why it is a great tool for building high traffic websites such as an eCommerce due to its speed and enhanced performance.
How to install Gatsby on Linux?
Here, you will learn how to install a new Gatsby website from a template. To get started, download Gatsby CLI package by running the command below;
npm install -g gatsby-cliFrom the command above, the flag "-g" shows that we are installing the Gatsby command-line interface globally instead of locally. By means of this, it will be accessible from any directory on the server.
To avoid permission issues on the server after using "npm install" command globally on a sudo account, it is recommended to change the default directory of npm.
As soon as gatsby is installed, you can access its help commands which will help you along the way while creating a website.
Run the command below to see all the commands available to enable you use gatsby tool efficiently;
gatsby helpThis will give you the output as shown below;
Usage: gatsby <command> [options]
Commands:
gatsby develop Start development server. Watches files, rebuilds, and hot reloads if something changes
gatsby build Build a Gatsby project.
gatsby serve Serve previously built Gatsby site.
gatsby info Get environment information for debugging and issue reporting
gatsby clean Wipe the local gatsby environment including built assets and cache
gatsby repl Get a node repl with context of Gatsby environment, see
(https://www.gatsbyjs.org/docs/gatsby-repl/)
gatsby new [rootPath] [starter] Create new Gatsby project.
gatsby plugin Useful commands relating to Gatsby plugins
gatsby telemetry Enable or disable Gatsby anonymous analytics collection.
The essential gatsby commands are outlined below;
"gatsby new" helps to create a new site. Using "gatsby new" by itself will give you a barebone site. It is recommended that you use this command with a starter template to make it easy for you to customize your new website.
"gatsby develop" Helps to start the development server. To view your site locally on port "8000", the use of "gatsby develop" command makes it possible.
"gatsby build" basically bundles static files and assets and creates a production build of the application.
One good thing about Gatsby is that it comes with different starter templates supported by Gatsby community which makes setting up a new website easy.
In this guide, we shall simply use "Gatsby Starter Default" template to create a website.
Start by installing "Gatsby starter" by running the command below;
gatsby new gatsby-starter-default https://github.com/gatsbyjs/gatsby-starter-defaultNow you will get an output like this;
Your new Gatsby site has been successfully bootstrapped. Time to change into the directory
cd gatsby-starter-default
gatsby develop
Here, "gatsby-starter-default" is the name of the directory created. Now the directory will be changed to the newly created one and the contents inside will be listed.
To do this, run the command below;
cd gatsby-starter-default && lsNow you will get an output such as;
LICENSE gatsby-browser.js gatsby-node.js node_modules public yarn.lock
README.md gatsby-config.js gatsby-ssr.js package.json src
We need to modify some vita files in this guide such as;
"gatsby-config.js" is where you can modify the metadata and plugins to be used by Gatsby. Basically, it contains a wide range of customization features which you can implement on the site.
"src directory" is where you will see all the pages, images and components which the website uses.
How to Modify the Title, Description, and Author Metadata in the Gatsby Config?
To get the best Search Engine optimization for your website, it is important to set the correct metadata.
Here, we can configure the title, description, and author metadata.
As earlier stated, "gatsby-config.js" contains the configuration file.
Now, open the file "gatsby-config.js" to see the contents as shown below;
module.exports = {
siteMetadata: {
title: `Gatsby Default Starter`,
description: `Kick off your next, great Gatsby project with this default starter. This barebones starter ships with the main Gatsby configuration files you might need.`,
author: `@gatsbyjs`,
},
plugins: [
`gatsby-plugin-react-helmet`,
{
resolve: `gatsby-source-filesystem`,
options: {
name: `images`,
path: `${__dirname}/src/images`,
},
},
`gatsby-transformer-sharp`,
`gatsby-plugin-sharp`,
{
resolve: `gatsby-plugin-manifest`,
options: {
name: `gatsby-starter-default`,
short_name: `starter`,
start_url: `/`,
background_color: `#663399`,
theme_color: `#663399`,
display: `minimal-ui`,
icon: `src/images/gatsby-icon.png`, // This path is relative to the root of the site.
},
},
// this (optional) plugin enables Progressive Web App + Offline functionality
// To learn more, visit: https://gatsby.dev/offline
// `gatsby-plugin-offline`,
],
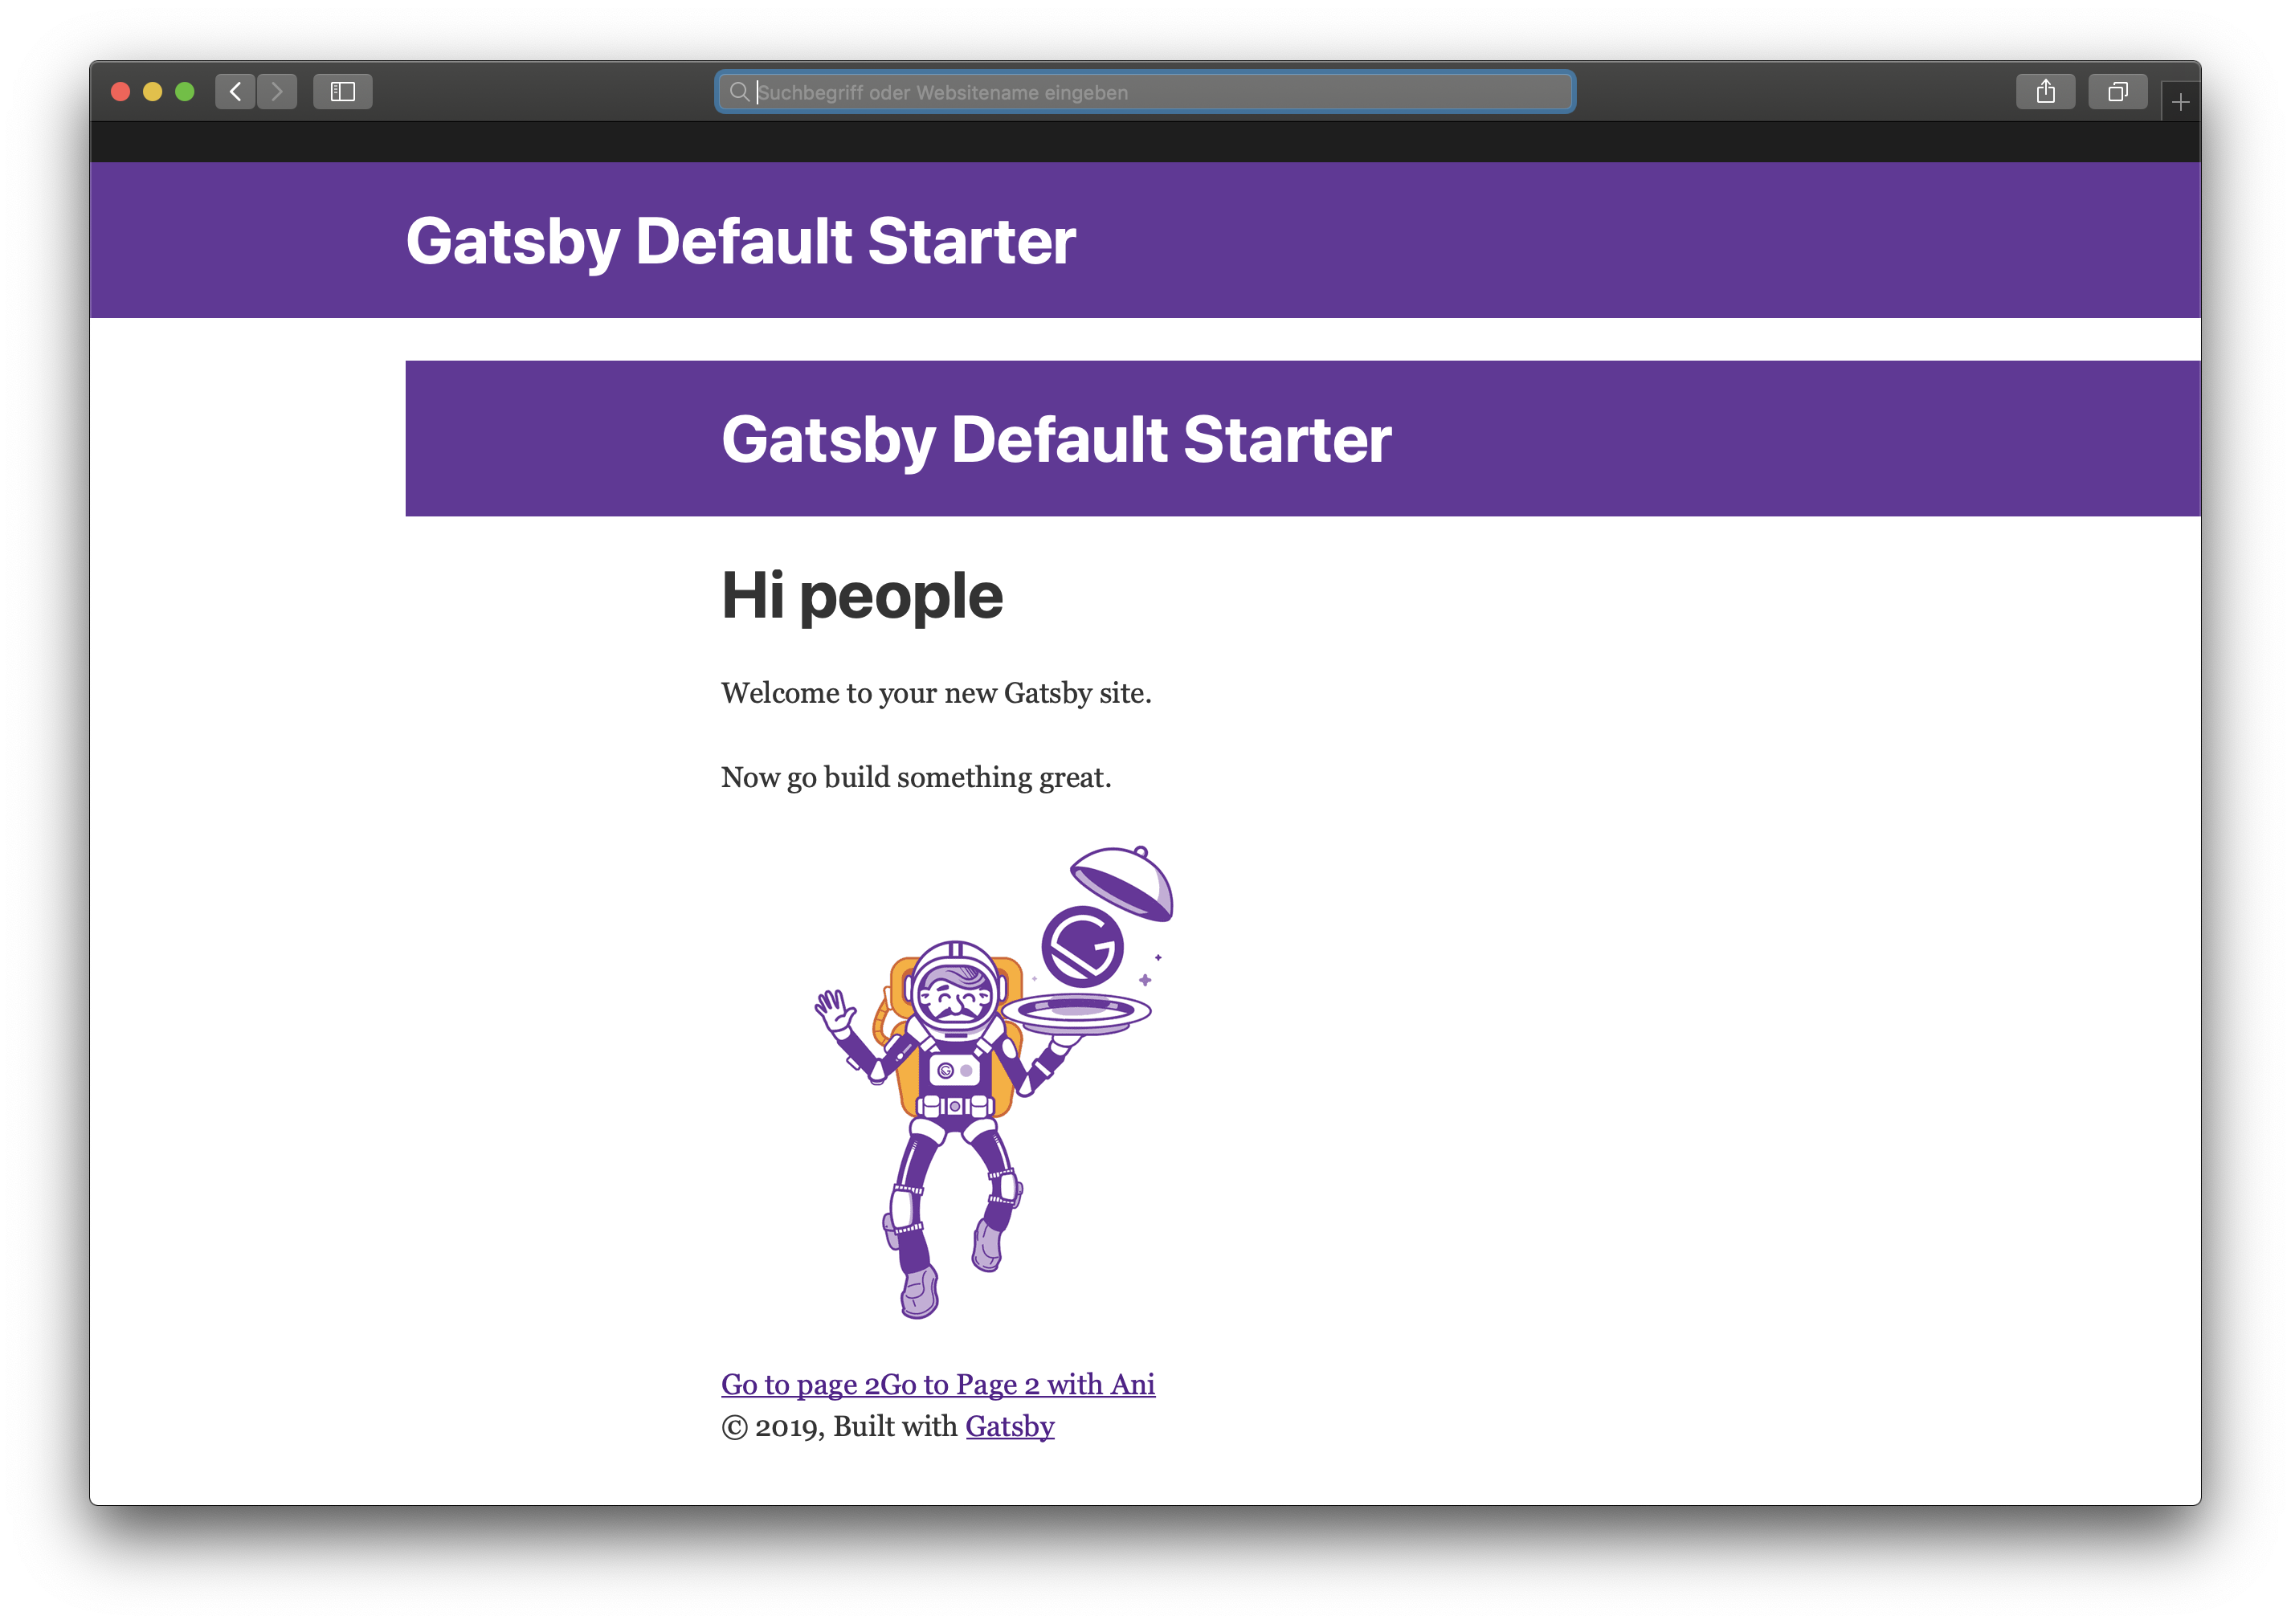
}This is Gatsby's Default Starter template.
Now replace the text for the title, description, and author as per the information provided below;
module.exports = {
siteMetadata: {
title: `A simple site built with Gatsby`,
description: `Learn how to customize a website in Gatsby`,
author: `@yourname`,
},
plugins: [
`gatsby-plugin-react-helmet`,
{
resolve: `gatsby-source-filesystem`,
options: {
name: `images`,
path: `${__dirname}/src/images`,
},
},
`gatsby-transformer-sharp`,
`gatsby-plugin-sharp`,
{
resolve: `gatsby-plugin-manifest`,
options: {
name: `gatsby-starter-default`,
short_name: `starter`,
start_url: `/`,
background_color: `#663399`,
theme_color: `#663399`,
display: `minimal-ui`,
icon: `src/images/gatsby-icon.png`, // This path is relative to the root of the site.
},
},
// this (optional) plugin enables Progressive Web App + Offline functionality
// To learn more, visit: https://gatsby.dev/offline
// `gatsby-plugin-offline`,
],
}
Now, you can save and exit this file.
How to Modify the Index Page?
Here, you will learn how to use JSX, modify the markup on the index page, add images to the site, and run a Gatsby site locally.
To view the local version of your new Gatsby website, run the command below;
gatsby developNow you can access the website by connecting with its default port "8000".
Now enter the URL as shown below to access your Gatsby site locally;
localhost:8000How to change the Markup of Gatsby site index page?
To make the new site look like an e-commerce website, you can modify the markup on the index page. Open the script "src/pages/index.js" which contains information such as;
import React from "react"
import { Link } from "gatsby"
import Layout from "../components/layout"
import Image from "../components/image"
import SEO from "../components/seo"
const IndexPage = () => (
<Layout>
<SEO title="Home" />
<h1>Hi people</h1>
<p>Welcome to your new Gatsby site.</p>
<p>Now go build something great.</p>
<div style={{ maxWidth: `300px`, marginBottom: `1.45rem` }}>
<Image />
</div>
<Link to="/page-2/">Go to page 2</Link> <br />
<Link to="/using-typescript/">Go to "Using TypeScript"</Link>
</Layout>
)
export default IndexPage
This code is JSX which consist of HTML elements combined with JavaScript.
Now you can modify this file to make it looks like this;
import React from "react"
import { Link } from "gatsby"
import Layout from "../components/layout"
import Image from "../components/image"
import SEO from "../components/seo"
const IndexPage = () => (
<Layout>
<SEO title="Home" />
<h1>Hello Visitors, we are currently developing our new products!</h1>
<p>We sell fresh fruit.</p>
<div style={{ maxWidth: `300px`, marginBottom: `1.45rem` }}>
<Image />
</div>
<Link to="/page-2/">Go to page 2</Link> <br />
<Link to="/using-typescript/">Go to "Using TypeScript"</Link>
</Layout>
)
export default IndexPage
Now, save the changes to effect changes and exit the file.
How to add or change images on your Gatsby site?
Now open the image you want to change on your browser and download the image to "src/images" folder in the Gatsby project. We will save it as "gatsby.jpeg" in this guide.
Next, navigate to the images folder by running the command below;
cd src/imagesNow check if the new image "gatsby.jpeg" is available in the images folder.
Next, open "image.js" with the command below;
nano components/image.jsNow replace "gatsby-astronaut.png" with "gatsby.jpeg" in the image.js file as shown below;
import React from "react"
import { useStaticQuery, graphql } from "gatsby"
import Img from "gatsby-image"
/*
* This component is built using `gatsby-image` to automatically serve optimized
* images with lazy loading and reduced file sizes. The image is loaded using a
* `useStaticQuery`, which allows us to load the image from directly within this
* component, rather than having to pass the image data down from pages.
*
* For more information, see the docs:
* - `gatsby-image`: https://gatsby.dev/gatsby-image
* - `useStaticQuery`: https://www.gatsbyjs.org/docs/use-static-query/
*/
const Image = () => {
const data = useStaticQuery(graphql`
query {
placeholderImage: file(relativePath: { eq: "gatsby.jpeg" }) {
childImageSharp {
fluid(maxWidth: 300) {
...GatsbyImageSharpFluid
}
}
}
}
`)
return <Img fluid={data.placeholderImage.childImageSharp.fluid} />
}
export default Image
You should save the file and restart the server to effect changes.
Now, a simple Gatsby e-commerce will be ready and running locally.
Need to create an E-Commerce store or Website for your products? Our Web developers are available to help you today.
Conclusion
This article will guide you on how to use Gatsby command-line interface to create and customize a new website from a simple template on your Linux Server.
This article will guide you on how to use Gatsby command-line interface to create and customize a new website from a simple template on your Linux Server.