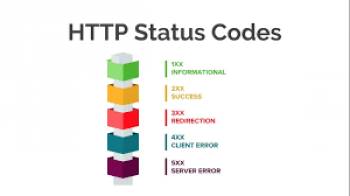
Icinga is a great network and system monitoring application which helps to check network resources and informs users of outages.
Here at Ibmi Media, we regularly help our customers to do Software Installation activities on their servers as part of our Server Support Services.
This context will guide you on the steps to take to install Icinga 2 server monitoring tool and its configuration on Ubuntu 20.04.
More about Icinga?
Monitoring system resources is an important aspect of Server Management by means of which website owners can be informed promptly of any unexpected changes in the system's resources made possible by Icinga.
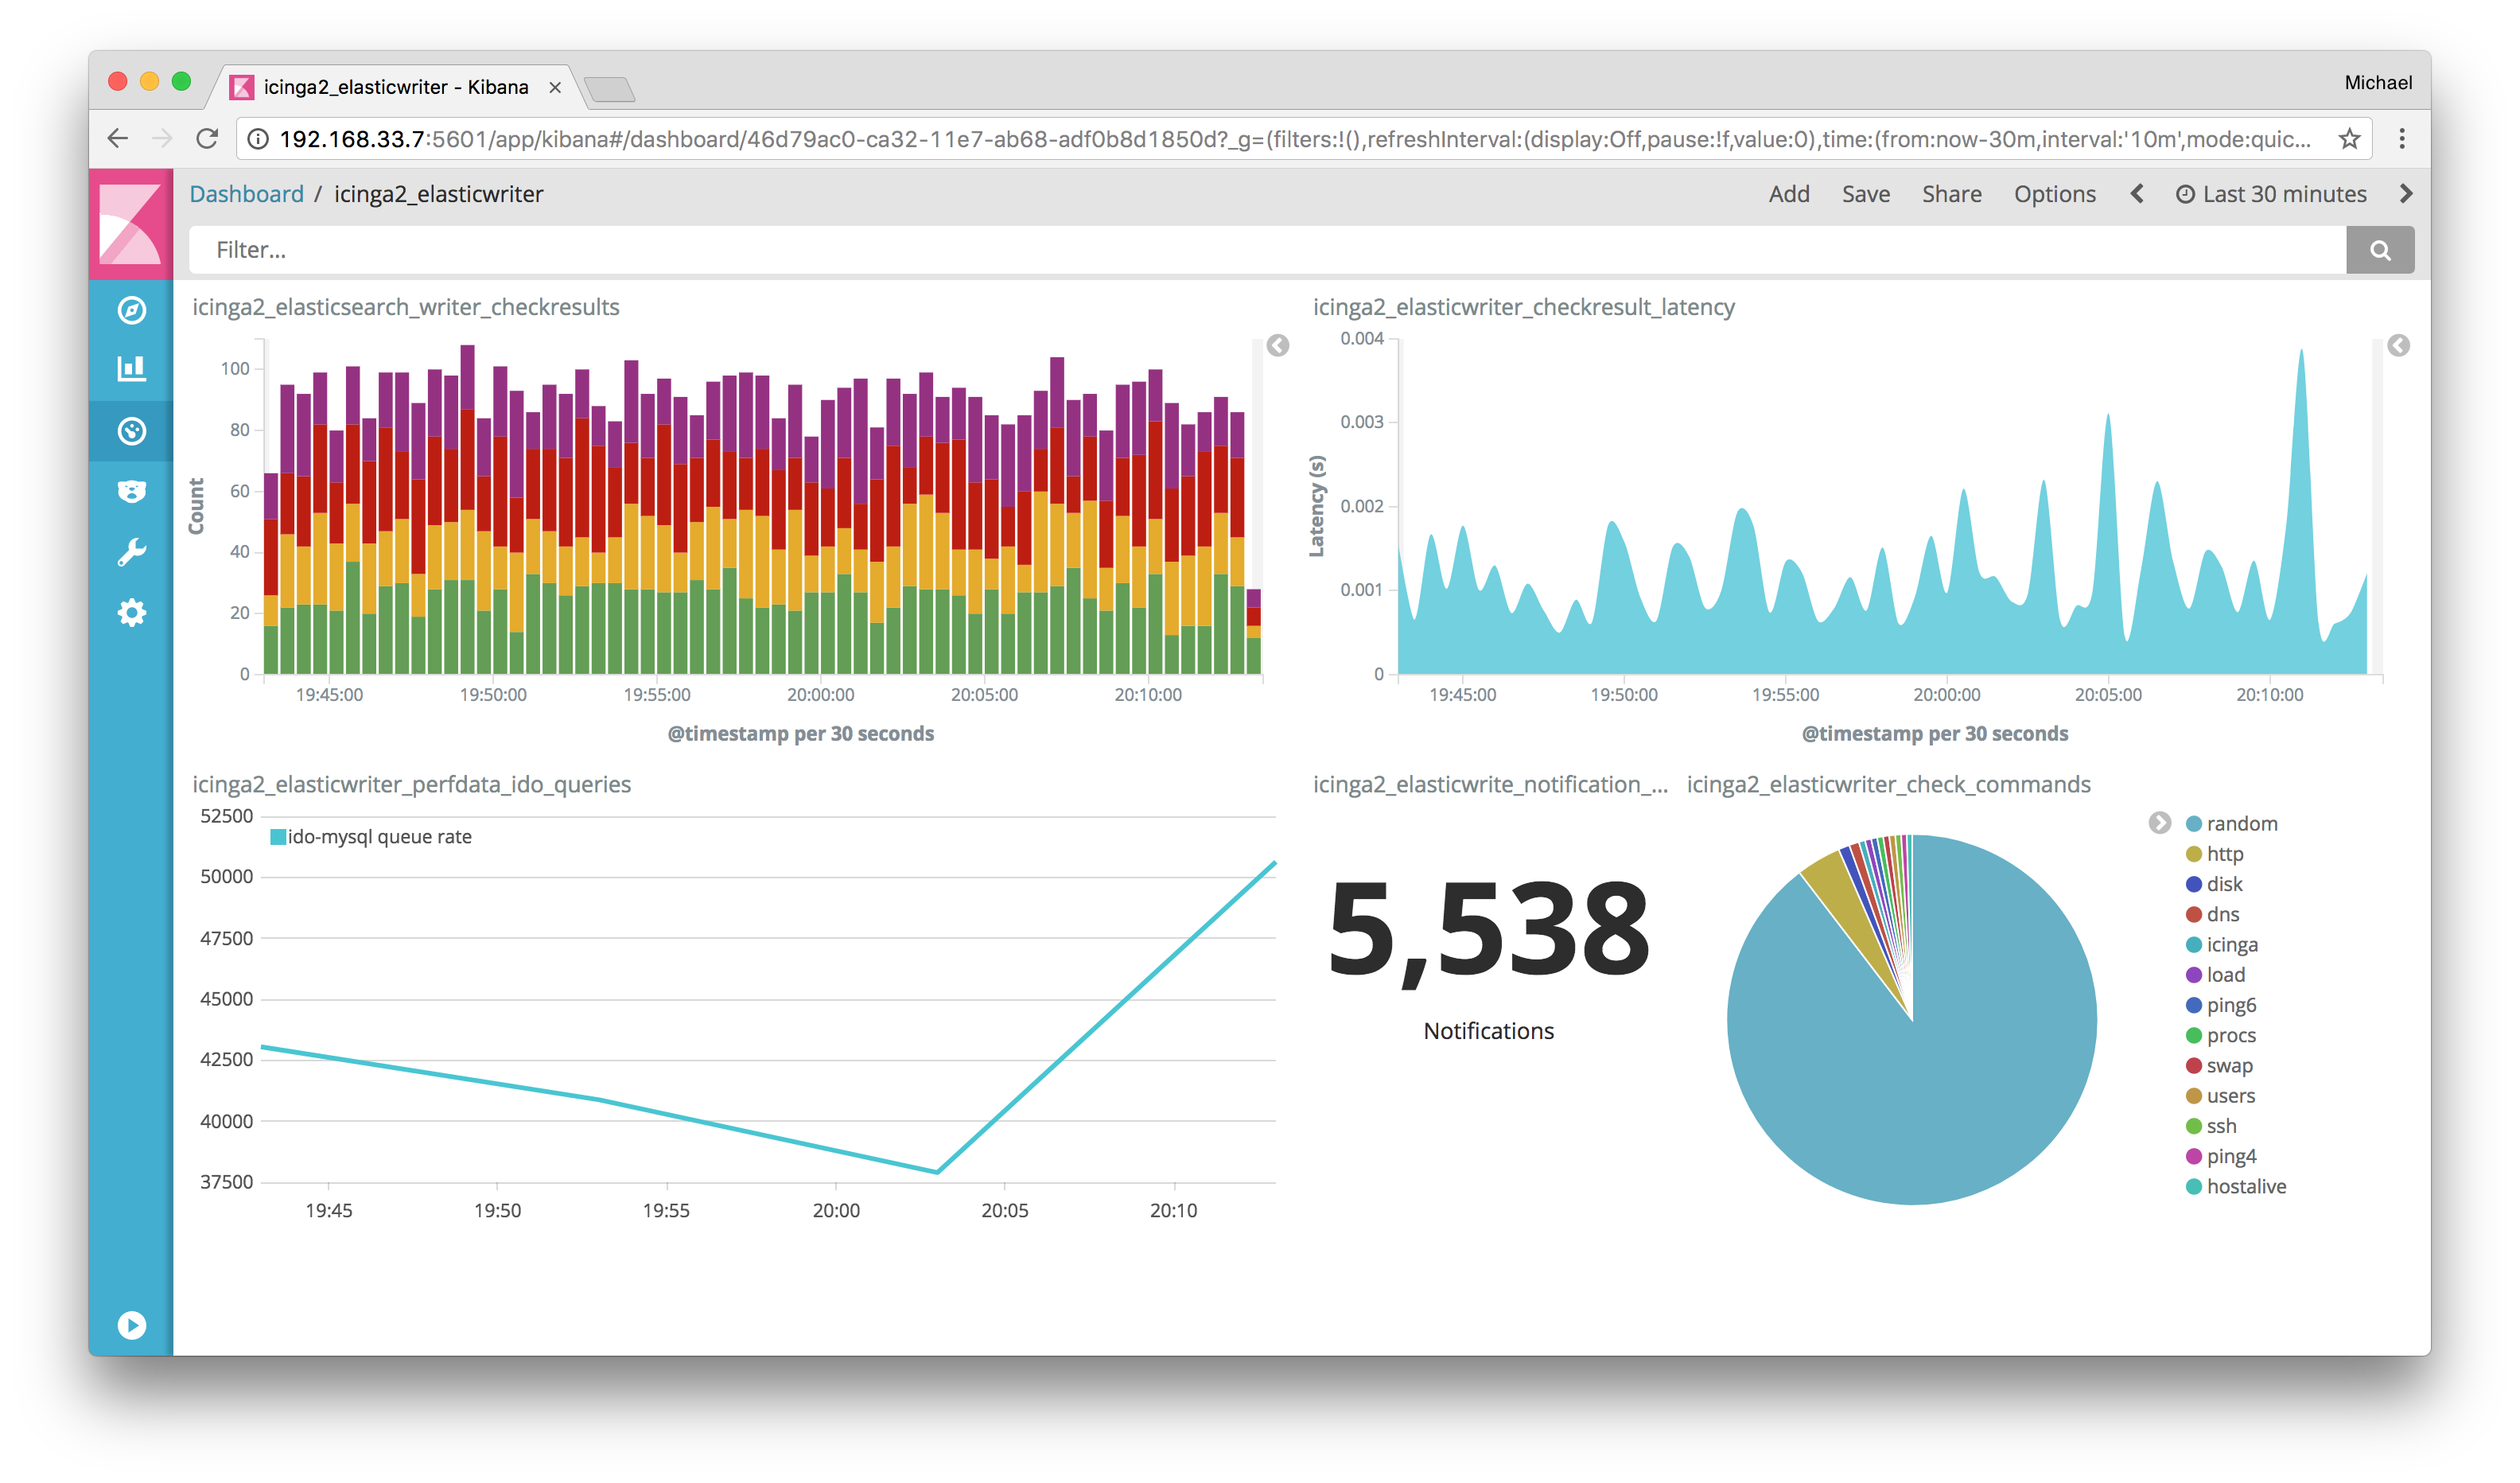
With Icinga, network resources are fully monitored, notifies users about outages and also generates performance data for reporting.
How to install Icinga 2 on Ubuntu
Installing Icinga 2 is usually in 2 phases. The first is to install Icinga 2 tool itself and the final part is to set up Icinga Web 2 interface.
Follow the steps below to install Icinga 2.
i. To begin, start by updating and upgrading the Server packages with the commands below;
sudo apt update && sudo apt upgrade
After updating the packages, follow by installing vim, https protocol and gnupg respectively. The following command will help to get them installed;
sudo apt install -y vim apt-transport-https wget gnupg
ii. Now you can install Icinga's package repository to the server packages list with the following command;
wget -O - https://packages.icinga.com/icinga.key | sudo apt-key add -. /etc/os-release; if [ ! -z ${UBUNTU_CODENAME+x} ]; then DIST="${UBUNTU_CODENAME}"; else DIST="$(lsb_release -c| awk '{print $2}')"; fi;echo "deb https://packages.icinga.com/ubuntu icinga-${DIST} main" | sudo tee /etc/apt/sources.list.d/${DIST}-icinga.listecho "deb-src https://packages.icinga.com/ubuntu icinga-${DIST} main" | sudo tee -a /etc/apt/sources.list.d/${DIST}-icinga.list
To get the package updated, update the server with the command;
sudo apt update
Next, install Icinga 2 since its packages has been successfully added to the server's list of packages. Use the command below;
sudo apt install icinga2 -ySetting up icinga2 plugins
To enable icinga to check external services, it requires some plugins to help with Monitoring activities. To get them installed, use the command below;
sudo apt install monitoring-plugins -y
Next, you should enable icinga2 and confirm that the service is active. Use the following commands below;
sudo systemctl enable --now icinga2
systemctl status icinga2
A database is important to work with icinga and this is why a database management system such as MySQL/MariaDB should be installed.
MySQL/MariaDB Installation and Configuration
Icinga 2 uses a Database Icinga Data Output known as DB IDO which helps to export all configuration as well as status information into the database.
To install MariaDB, use the following commands;
sudo apt update && sudo apt upgradesudo apt -y install software-properties-commonsudo apt-key adv --fetch-keys 'https://mariadb.org/mariadb_release_signing_key.asc'sudo add-apt-repository 'deb [arch=amd64] http://mariadb.mirror.globo.tech/repo/10.5/ubuntu focal main'sudo apt updatesudo apt install mariadb-server mariadb-clientsudo mysql_secure_installationsudo systemctl status mysql
Next, you can install DB IDO which Icinga will use as mentioned above with the command below;
sudo apt install icinga2-ido-mysql -y
In the process of installation, you will be prompted to install and configure a Database. You should choose No since you have already installed a database.
Therefore, go straight ahead with creating a database and a user for Icinga 2 with the following command;
mysql -u root -p
This will display the following output which you should input the following attributes to complete this process;
MariaDB [(none)]> CREATE DATABASE icinga;MariaDB [(none)]> GRANT SELECT, INSERT, UPDATE, DELETE, DROP, CREATE VIEW, INDEX, EXECUTE ON icinga.* TO 'icinga'@'localhost' IDENTIFIED BY 'icinga';MariaDB [(none)]> FLUSH PRIVILEGES;MariaDB [(none)]> quit
After the database creation, simply import Icinga 2 IDO schema with the command below;
mysql -u root -p icinga < /usr/share/icinga2-ido-mysql/schema/mysql.sqlEnter password: <Enter-your-root-password>Enabling IDO MySQL module for Icinga
IDO MySQL module gives Icinga a new configuration which will be placed on the /etc/icinga2/features-available/ido-mysql.conf directory. You should update the database with the following command and make necessary changes to this file;
sudo vim /etc/icinga2/features-available/ido-mysql.conf
/*** The db_ido_mysql library implements IDO functionality* for MySQL.*/
library "db_ido_mysql"
object IdoMysqlConnection "ido-mysql" {user = "icinga",password = "icinga",host = "localhost",database = "icinga"}
Then, you can proceed with enabling ido-mysql feature configuration file with the command below;
sudo icinga2 feature enable ido-mysql
Next do a restart of the service to effect changes with the following command;
sudo systemctl restart icinga2Setting up REST API for Icinga 2
Icinga Web 2 needs REST API to carry out some important tasks such as reschedule check and performing some queries. To implement this, use the command below;
sudo icinga2 api setup
This will help set up the certificates which Icinga web interface will use and a new API user root with a password placed in the /etc/icinga2/conf.d/api-users.conf config file.
Do a modification of the /etc/icinga2/conf.d/api-users.conf file and add a new API user object at the bottom in this file as well as some other permission attributes as shown below;
sudo vim /etc/icinga2/conf.d/api-users.conf
object ApiUser "icingaweb2" {password = "*********"permissions = [ "status/query", "actions/*", "objects/modify/*", "objects/query/*" ]}
By default, the new API will use port 5665. To effect the new configuration, do a restart of the service with the following command;
sudo systemctl restart icinga2How to set up Icinga Web 2?
To enhance monitoring activities, some important modules and Icinga Web 2 can be integrated with Icinga 2.
First, add the package repository for Icinga Web 2 with the following command;
sudo apt install icingaweb2 libapache2-mod-php icingacli -y
Next, you have to prepare add a database user. use the command below;
mysql -u root -p
MariaDB [mysql]> CREATE DATABASE icingaweb2;MariaDB [mysql]> GRANT ALL ON icingaweb2.* TO icingaweb2@localhost IDENTIFIED BY 'StrongPassword';MariaDB [(none)]> FLUSH PRIVILEGES;MariaDB [(none)]> quit
Now generate a token to complete authentication. The icingacli tool can be used via the following command;
sudo icingacli setup token create
To see the token, use the command below;
sudo icingacli setup token show
Next, enable port 80 and 443 to allow web access. you can use the command below;
sudo ufw allow httpsudo ufw allow httpsHow to start the Web Setup?
To set up icinga2 web, use the following link as per your domain or IP address;
http://[domain-name-or-ip-address]/icingaweb2/setup
This will open up the setup wizard.
You will be prompted to enter the previously created token in the first page which you will see.
Next page will be the Modules section where you can activate other important modules which Icinga will use. You should activate them and proceed to the next step.
In the next page, you will see the PHP modules and in the next step configure Authentication type. In here choose the database from the drop-list and continue to the next stage.
In the next step you can configure the Database if selected or LDAP. The subsequent steps involve setting the authentication Backend where you should add an administrative user which will be used to log into Icinga web 2 after setup. Other accounts can be created from the primary one.
Other Icinga configurations.
You can also do other Icinga configurations such as, Monitoring modules, Backend, IDO Resource, Command Transport (This helps to keep the system safe from attacks).
Need support in installing icinga2 on Ubuntu? We can help.
Conclusion
Icinga 2 helps in the monitoring of core resources on a server thereby serving as a resort of comfort for webmasters and website owners from panic and fear of unnoticed critical service changes within the server environment.
Icinga 2 helps in the monitoring of core resources on a server thereby serving as a resort of comfort for webmasters and website owners from panic and fear of unnoticed critical service changes within the server environment.