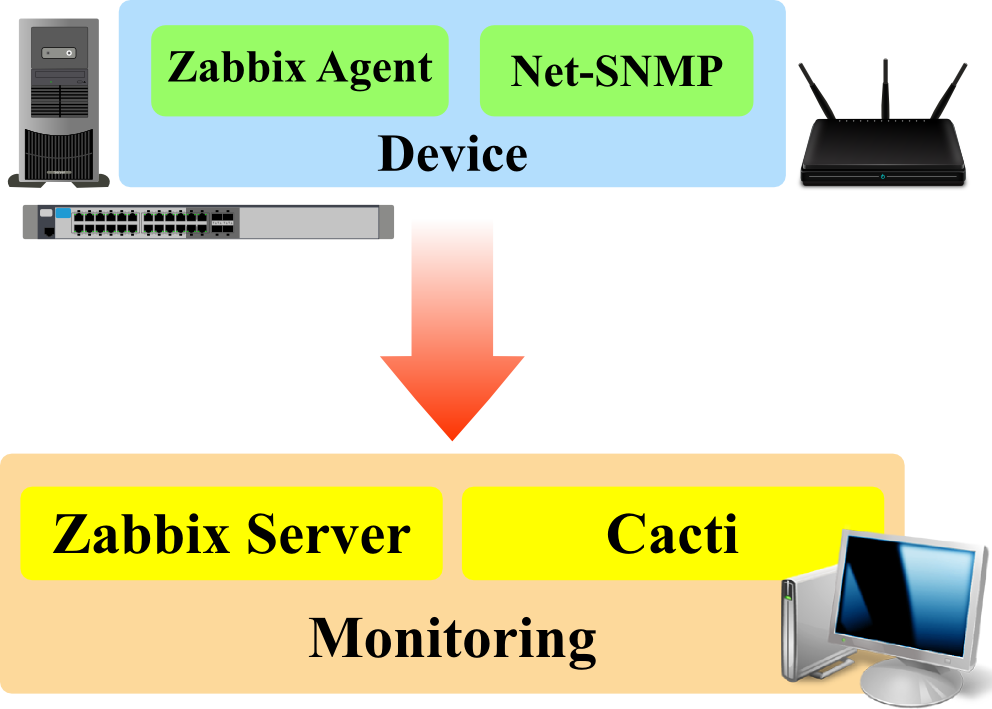
Cacti is a very popular Server efficiency monitoring tool which displays information in form of personalized graphs.
The installation process of cacti is very easy to implement and this article will put you through the steps you need to take in order to get it installed.
Here at Ibmi Media, as part of our Server Management Services, we regularly help our customers to install software on their Linux Servers.
In this context we shall look into the steps to take while Installing Cacti and its configuration as well.
How to install Cacti on Ubuntu 18.04 ?
To begin with the installation of Cacti, first we need to log into the server via an SSH tool such as putty and update the software and system with the command below;
sudo apt-get update && sudo apt-get upgrade -yNext, we can proceed with the installation.
In order to install Cacti successfully, its dependencies must be installed to enable it work correctly as it should. Packages dependencies such as SNMP, RRDtools, SNMPD, LAMP and so on need to be installed in the Linux system.
Now start by installing LAMP. Use the command below;
sudo apt-get install apache2 mysql-server-5.6 php libapache2-mod-phpDuring Lamp installation process, MySQL will be installed whereby you will be prompted to set up a server root password for MySQL.
Next, continue with the installation of SNMP, SNMPD, and RRDtools respectively via the command below;
sudo apt-get install snmp snmpd rrdtoolAfter this process is completed, you can install Cacti with the command below;
sudo apt-get snmpd cacti cacti-spineYou will be prompted to choose a web server for it and in this case you can select apache2 from the list which is same as LAMP previously installed followed by clicking on the "OK" button to complete.
Furthermore, you will be prompted to configure cacti database. When you click on the "YES" button, you will have to enter the password for the database which must be same with the one you used while installing LAMP.
How to configure Cacti on Ubuntu 18.04?
To complete Cacti setup process, enter the URL as specified below as per your case to see its interface;
http://<server name or IP address here>/cacti/installNow you have to click "Next" followed by selecting the installation type. This will open up a page where you can choose a "New Install".
The next page you will see will have the file paths information which has a green template. If you are satisfied with the settings, click "Finish" to complete.
Now you can log into Cacti interface with the default login information which is;
username: admin
password: admin
As soon as you login in successfully, you will be prompted to change the default password. You can then use a strong password.
Need support in installing and configuring Cacti? We are here to help you.
Conclusion
Steps to install and configure Cacti which is network monitoring tool which displays server efficiency information in form of a personalized graph.
Steps to install and configure Cacti which is network monitoring tool which displays server efficiency information in form of a personalized graph.
Related Post