Do you need to move a table from one filegroup to another? Our SQL experts can help you today.
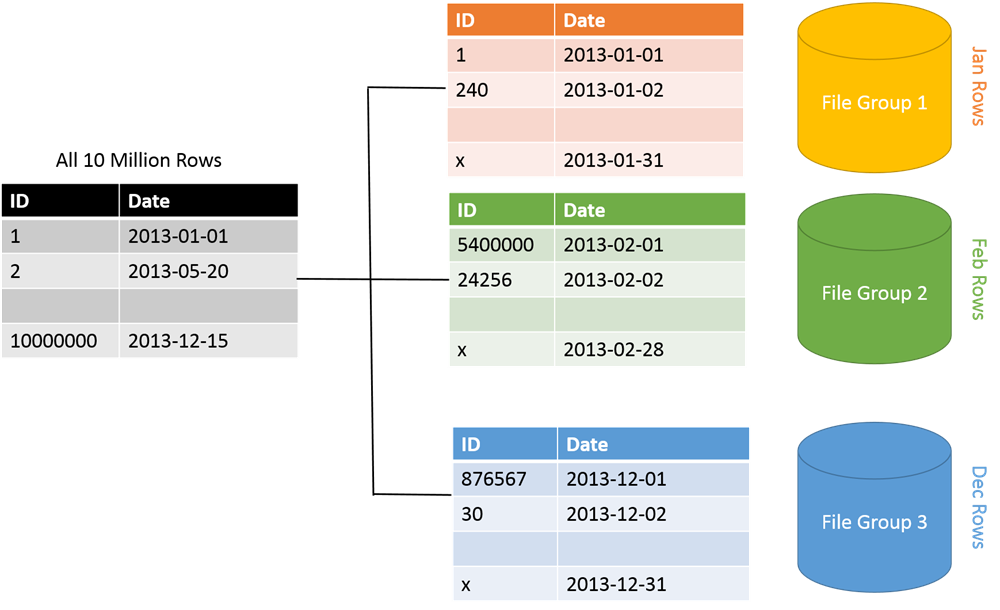
Sometimes, it is important to move SQL Server tables between two filegroups. Also, it is possible to create a copy of a table in a different filegroup.
Here at Ibmi Media, we regularly help our customers to solve database related issues as part of our Server Management Services.
Today, we will look into the process of moving a table to a different filegroup.
Importance of moving a table to another filegroup?
Basically, it is important to have a copy of a table from another file group due to record keeping, historical data, disk space issues and other purposes.
Lets say, a database located at a drive "A" have its disk space exhausted and out of disk space, then considering that another drive "B" has enough space to accommodate the data in the exhausted one, it is best to move the tables from drive "A" to drive "B" to make room for the database.
How to move a table to another filegroup?
To migrate a table to another filegroup, follow the steps below;
i. Start by identifying the affect tables containing large data and causing the disk space to be out of space on a disk, lets call it disk "C".
ii. Then, create a new filegroup on another disk, lets say "D".
iii. Now add the data file to the newly created filegroup.
iv. Next, drop the clustered index from the table identified in the first step. Now recreate it for the other filegroup.
v. Finally, create a clustered index on the same table.
How to use T-SQL statements to move a table to different filegroup?
Alternatively, you can also move a table from one filegroup to another by dropping and recreating the clustered indexes. Use the T-SQL statements as shown below to move the whole table from "filegroup_1" to "filegroup_2";
ALTER TABLE TAB1 DROP CONSTRAINT PK_TAB1 WITH (MOVE TO TEST_DATA_2)GOALTER TABLE TAB1 ADD CONSTRAINT PK_TAB1 PRIMARY KEY(TAB1_ID)GO
From the statement, "TAB1" stands for the table name.
"PK_TAB1" signifies the clustered index key.
"TEST_DATA_2 " stands for the target filegroup.
This process is necessary if you are moving a table from one filegroup to another in relation of any filegroup drives.
In cases where the table does not have an clustering index, you can simply create a clustering index and move the table as per the instruction give above.
How to move an existing index using Table Designer?
i. To begin, in Object Explorer, click on the "plus" sign to expand the database which contains the table containing the index that you want to move.
ii. Next, click the "plus" sign to expand the Tables folder.
iii. Now right-click on the table containing the index that you want to move and select "Design".
iv. Here, click Indexes/Keys on the Table Designer menu.
v. Now select the index that you wish to move.
vi. Expand Data Space Specification in the main grid.
vii. Then select the Filegroup or Partition Scheme Name and select from the list the filegroup or partition scheme to where you want to move the index.
viii. Next, click on the Close button to close it.
ix. Finally, select Savetable_name from the File menu.
Need support in solving Databases issues and SQL problems? We are available to help you today.
Conclusion
This article will guide you on how to move a table to another filegroup manually, via T-SQL statements or by using a Table designer.
This article will guide you on how to move a table to another filegroup manually, via T-SQL statements or by using a Table designer.


