Are you having issues installing Ansible on Debian, Ubuntu or CentOS Server? Our experienced Server administrators can help you today.
Here at Ibmi Media, as part of our Server Management Services, we regularly help our customers to perform Installation tasks on their Linux Servers be it Ubuntu, CentOS or Debian based.
In this context, we shall look into how to install Ansible on Ubuntu.
What is Ansible and what is its function on a Linux Server?
Ansible is an efficient but simple IT automation system which automates cloud provisioning, configuration management, application deployment, intra-service orchestration, and other Information Technology tasks.
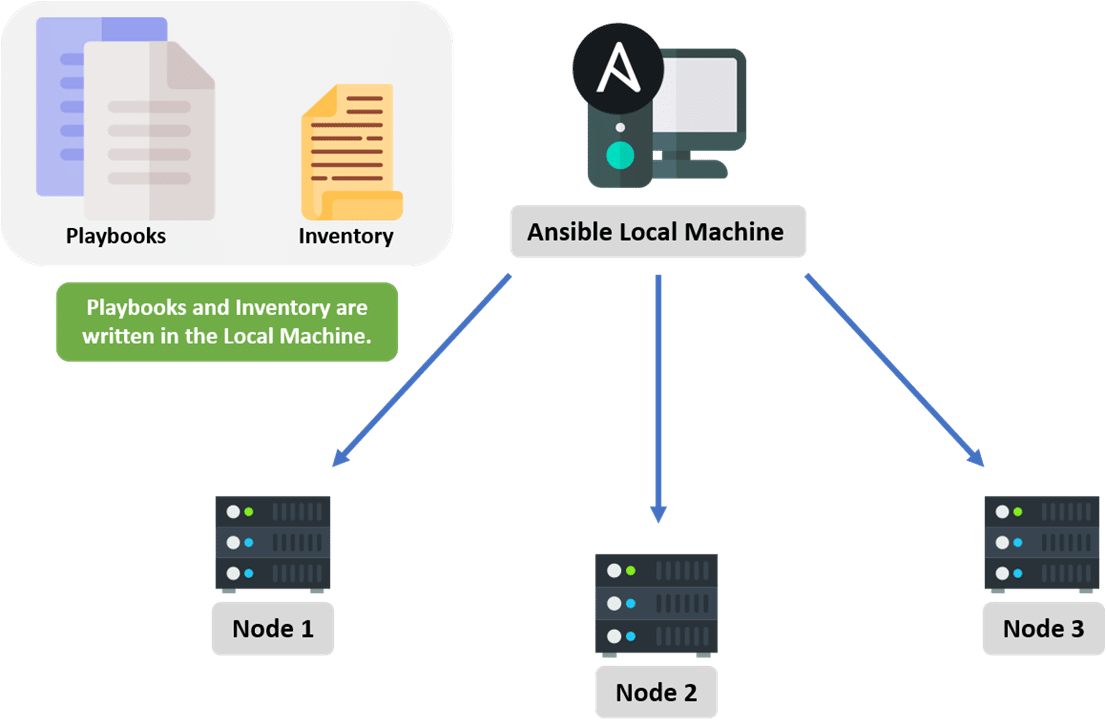
With Ansible, complex business problems can be eased. It gives a system a simple architecture without needing any sophisticated Software to be installed on nodes and to function. Via SSH, automation tasks and YAML files can define provisioning information.
To install Ansible on Ubuntu, all you need is just one Ansible Control Node and one or more Ansible Hosts.
How to install Ansible on Debian or Ubuntu?
i. Ansible Installation
Begin by installing Ansible software on the Server that will server as the Ansible control node by running the command below;
sudo apt-add-repository ppa:ansible/ansible
You will be prompted to accept the PPA inclusion,so you need to Press your ENTER key to continue.
After this process, you can refresh the system packages by updating the system with the command below;
sudo apt update
Next, you can install Ansible with the following command;
sudo apt install ansible
Now Ansible Control node will be installed with all the dependencies required to administer the hosts.
ii. Inventory File Set up
The Inventory file houses the host information. To modify the contents of the default Ansible inventory, ope the hosts file located at "/etc/ansible/hosts" with the command below;
sudo nano /etc/ansible/hosts
Here is how the hosts file looks like, lets say it has a group with name "[servers]" with 3 different servers in it. In this case it will be identified by server1, server2 and server3 respectively as seen below;
[servers]server1 ansible_host=123.1.xxx.xxxserver2 ansible_host=123.1.xxx.xxxserver3 ansible_host=123.1.xxx.xxx
[all:vars]ansible_python_interpreter=/usr/bin/python3
From the above parameters, the all:vars subgroup sets the ansible_python_interpreter host parameter that will be accessible by all hosts in this inventory.
Then after setting, you can save and close this file with the key (CTRL+X then Y) followed by hitting the Enter button to effect the changes.
To confirm the inventory, run the command below;
ansible-inventory --list -yiii. Testing Ansible Connection
After setting the inventory file as advised above, you can verify if Ansible is able to connect to the servers by running the commands below;
ansible all -m ping -u root
What you doing here is that you are connecting as root and testing the connectivity on all nodes from your default inventory using the built-in ping modules in Ansible.
Need support installing Software and Packages in Debian, Ubuntu and CentOS Servers? We are available to help you today.
Conclusion
This article will put you through to install Ansible on Ubuntu and Debian Machines to get it to work via its inventory file.
This article will put you through to install Ansible on Ubuntu and Debian Machines to get it to work via its inventory file.


