As part of our Server Management Services here at Ibmi Media, We regularly help our customers do Installations on their Debian, Ubuntu and CentOS machines.
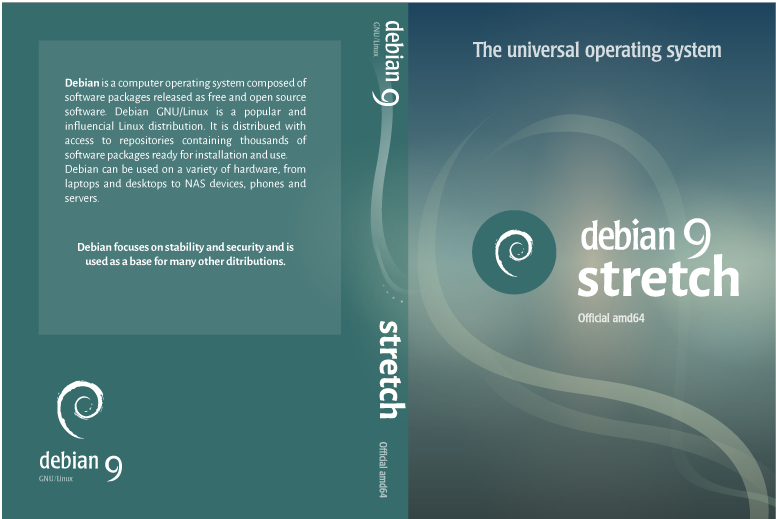
In this context, we shall look into how to install Debian 9 Stretch.
What is Debian 9 Stretch?
Debian 9 have its development name represented by Stretch.
What made the Stretch release exceptional is that the modern branch of GnuPG in the gnupg package is shipped with it, Debian 9.
Additionally, its modular architecture is very robust and it features an improved smartcard support.
How to install Debian 9 Stretch?
To install Debian 9 Stretch, you need to download its installation source file in the Debian official website's download section.
Then once downloaded, you can burn the file into a cd or USB drive.
Follow the following steps to install the downloaded Debian 9 Stretch Installation file;
1. When you start the installation process, the installer will give you different options to install it. So you can select the "Graphical Install" option and click it to continue.
2. Next, choose the language and time zone and click "continue" to proceed.
3. This will take you to a page where you can choose the "locales". This is the system's regional configuration. After this, you must choose the input language and click on continue to proceed.
4. Now the installer will start implementing the changes which you have chosen during the previous steps.
5. After this, you will be taken to the page where you can set the network configuration. Here, enter the hostname as well the domain name followed by clicking continue.
6. Now you can set the root password and you should enter a strong password. You will see where you can create a user and a new user password. Here enter a unique username and a strong password followed by clicking on the continue button.
7. The next step is for Disk Partitioning where you can choose any option. To have more control , you can select the "Manual" option followed by clicking continue to proceed.
8. The next step is to set the hard disk of the computer. Here create a virtual disk from 0 making sure that it does not have any partitions. Now select the disk and click on continue to proceed.
9. You will be warned that the disk is "new" if there is no partition table. Here you can create a partition table by selecting yes. Then click on continue to proceed.
10. Now you can create the first partition which will be used by the system. Here select the free space and click on continue. You can enter the size as well as a swap partition to have control of the size if you want it smaller. You can give the disk a size and under the "Type of the new partition", select "Primary".
11. Next, select the location. After this, modify the filesystem type (Ext4) and the mounting point (/). Now you can select that you have finished defining the partition and click on continue to proceed.
12. Now you can create the swap partition with the remaining disk space and click on continue to proceed.
13. Again, we need to create a new partition which will be "logical". In the next step, you will define it as a swap partition. After this, click on continue to proceed.
This is how to do a basic partitioning on LINUX/GNU. Now we have one partition for "/" and another for Swap.
14. After this, Debian will ask if you want to analyze another drive and we can choose No.
15. Next, you can select the software to install as per your needs.
16. Now you can MATE as the desktop environment. After the installation process, you can install the Boot loader and select the hard drive followed by clicking the continue button to proceed to the final stage.
17. Finally, the installation process will be complete.
Need support in installing Software on Debian, Ubuntu and CentOS servers? We are ready to help you today.
Conclusion
This article will guide you through the complete steps you need to follow to install Debian 9 Stretch on your Machine.
This article will guide you through the complete steps you need to follow to install Debian 9 Stretch on your Machine.


