In Windows, we block remote network access for local user accounts for various reasons.
Here at Ibmi Media, as part of our Server management Services, we regularly help our Customers to perform Windows related errors.
In this context, we shall look into the cause and fix of this Windows error.
Main causes of the error "Windows: block remote network access for local user accounts" ?
For a number of reasons, restrictions are there to use local accounts to access another computer over the network in Active Directory environments.
The same local administrator username and password are often used on many computers. As a result, this can put multiple devices at risk if a single computer compromises.
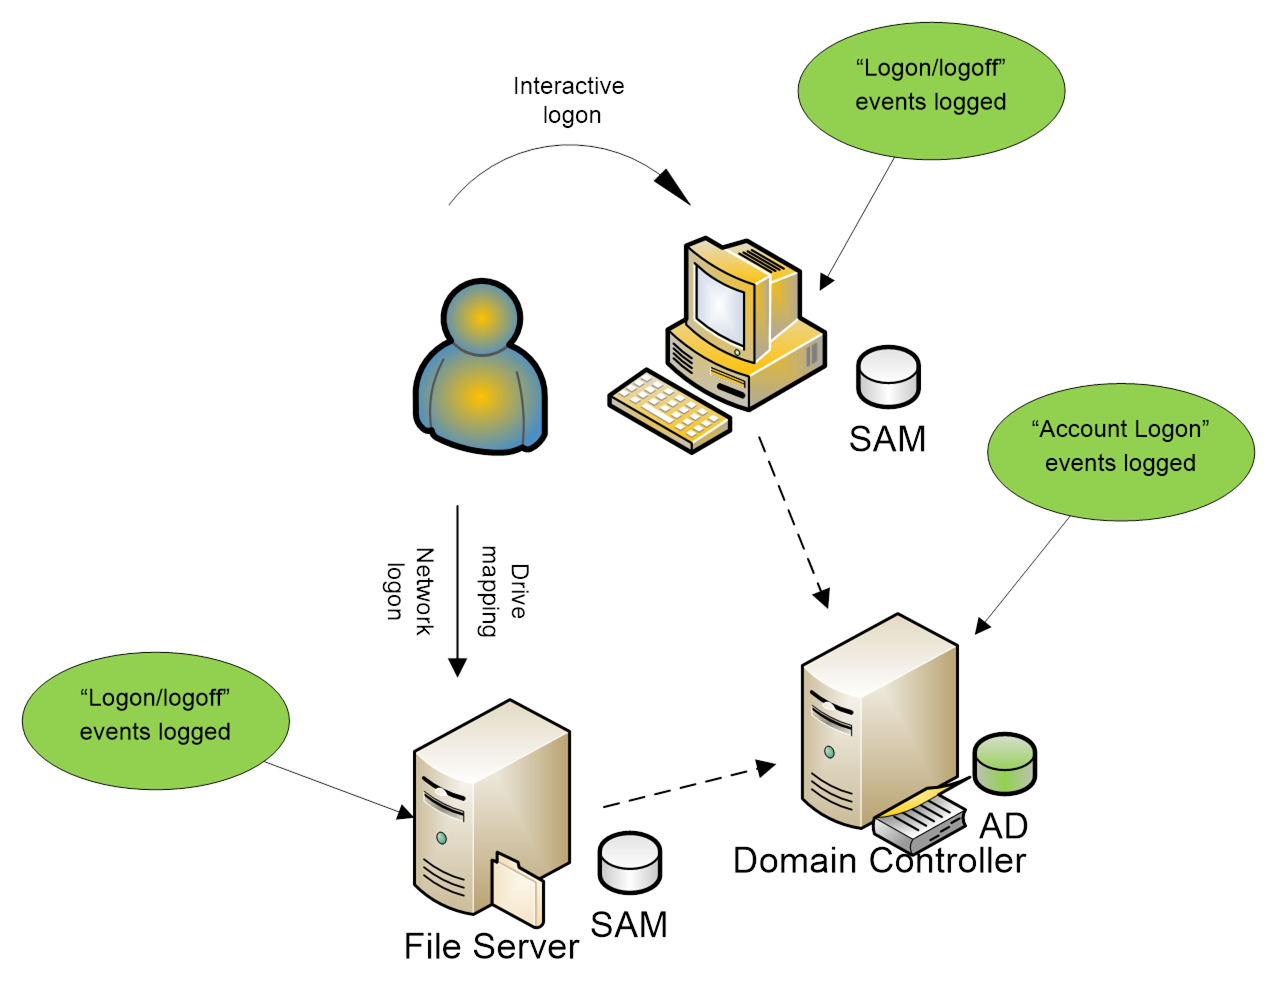
Moreover, accessing network resources with local accounts is hard to personify and centrally monitor. Because such events are not logged on AD domain controllers.
To reduce the risk, administrators can rename the default local Windows Administrator account.
How to fix the error "Windows: block remote network access for local user accounts" ?
Usually, our System Administrators restrict network access for local accounts. We do it by using the Deny access to this computer from the network policy.
But in this policy, we need to explicitly list all accounts that need to be denied network access to the computer.
In Windows 8.1 and Windows Server 2012 R2, two new well-known security groups with new SIDs appears. One includes all local users, and the second includes all local administrators.
Now, to restrict access for local accounts, we use their common SIDs.
These groups are added to the user’s access token during logon to the computer under a local account.
We make sure that in Windows 10/Windows Server 2016, the local administrator account is assigned to two new security groups. They are (NT AUTHORITY\Local account (SID S-1-5-113) and NT AUTHORITY\Local account and member of Administrators group (SID S-1-5-114)).
For that, we run the command:
Whoami /allAlso, we can check if these security groups exist on a Windows device by SID using the following PowerShell script:
$objSID = New-Object System.Security.Principal.SecurityIdentifier (“S-1-5-113”)
$objAccount = $objSID.Translate([System.Security.Principal.NTAccount])
$objAccount.Value
If the script returns NT Authority\Local account, then this local group (with S-1-5-113 SID) exists on the computer.
We can block the remote network access under local user accounts containing these SIDs in the token. For that, we use the settings from the "GPO section Computer Configuration -> Windows Settings -> Security Settings -> Local Policies -> User Rights Assignment".
How to Deny Remote Desktop (RDP) Access for Local Users and Administrators ?
The Deny log on through Remote Desktop Services policy allows specifying users and groups that are explicitly denied to logon to a computer remotely via Remote Desktop. We can deny RDP access to the computer for local and domain accounts.
By default, RDP access on Windows is allowed for the administrators and members of the local Remote Desktop User group.
If we want to restrict RDP connections for local users only:
1. First, we open the local GPO editor gpedit.msc (if we want to apply these settings on computers in the Active Directory domain, use the domain Group Policy Editor – gpmc.msc).
2. Then we go to the GPO section User Rights Assignment and edit the Deny log on through Remote Desktop Services policy.
3. After that, we add the built-in local security groups. That is "Local account and member of Administrators group" and "Local account" to the policy. We update local Group Policy settings using the command:
gpupdate /forceThe deny policy takes precedence over the Allow log on through Remote Desktop Services policy. If we add a user or group in both policies, RDP access for that user will be denied.
Finally, if we try to connect to the computer under a local user via RDP, an error will appear:
To sign in remotely, you need the right to sign in through Remote Desktop Services. By default, members of the Remote Desktop Users group have this right.
If the group you’re in doesn't have this right, or if the right has been removed from the Remote Desktop Users group, you need to be granted this right manually.
How to Deny Access to Computer from the Network ?
We can deny network access to a computer under local credentials with the Deny access to this computer from the network policy.
We add the local groups "Local account" and "Local account and member of Administrators group" to the Deny access to this computer.
For a domain environment, we completely block access to workstations and domain-member servers. We do this under accounts from the Domain Admins and Enterprise Admins security groups. We use this account only to access domain controllers. This reduces the risks of capturing the administrative (privileged) account hash and privilege escalation.
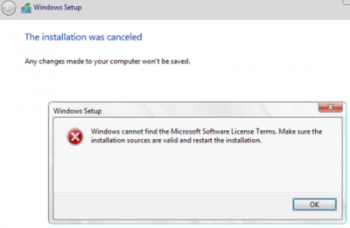
After applying the policy, we won’t be able to remotely connect to this computer over the network under any local Windows account. When trying to connect to a shared network folder or map a network drive from this computer under a local account, an error appears:
Microsoft Windows Network: Logon failure: the user has not been granted the requested logon type at this computers.When trying to establish a Remote Desktop connection under the local administrator account, an error message appears:
The system administrator has restricted the types of logon (network or interactive) that you may use. For assistance, contact your system administrator or technical support.If we apply this policy to a computer that is part of a Windows workgroup, we can only logon to that computer locally.
[Need urgent assistance in fixing Windows errors? – We are here to help you. ]
Conclusion
This article will guide you on ways to #restrict remote network access for a local user account.
To restrict local #accounts in #Windows 10,
Open the Settings app, then select Accounts. Select Family & other users. Scroll down to the Other Users section, then choose Add someone else to this PC. If the new user already has a #Microsoft account, enter the associated #email address, then click Next.
To restrict a Windows user:
1. Select Settings.
2. Tap Accounts.
3. Select Family & other users.
4. Tap "Add someone else to this #PC."
5. Select "I don't have this person's sign-in information."
6. Select "Add a user without a Microsoft account."


