How to fix this Windows Update error?
This guide will help you.
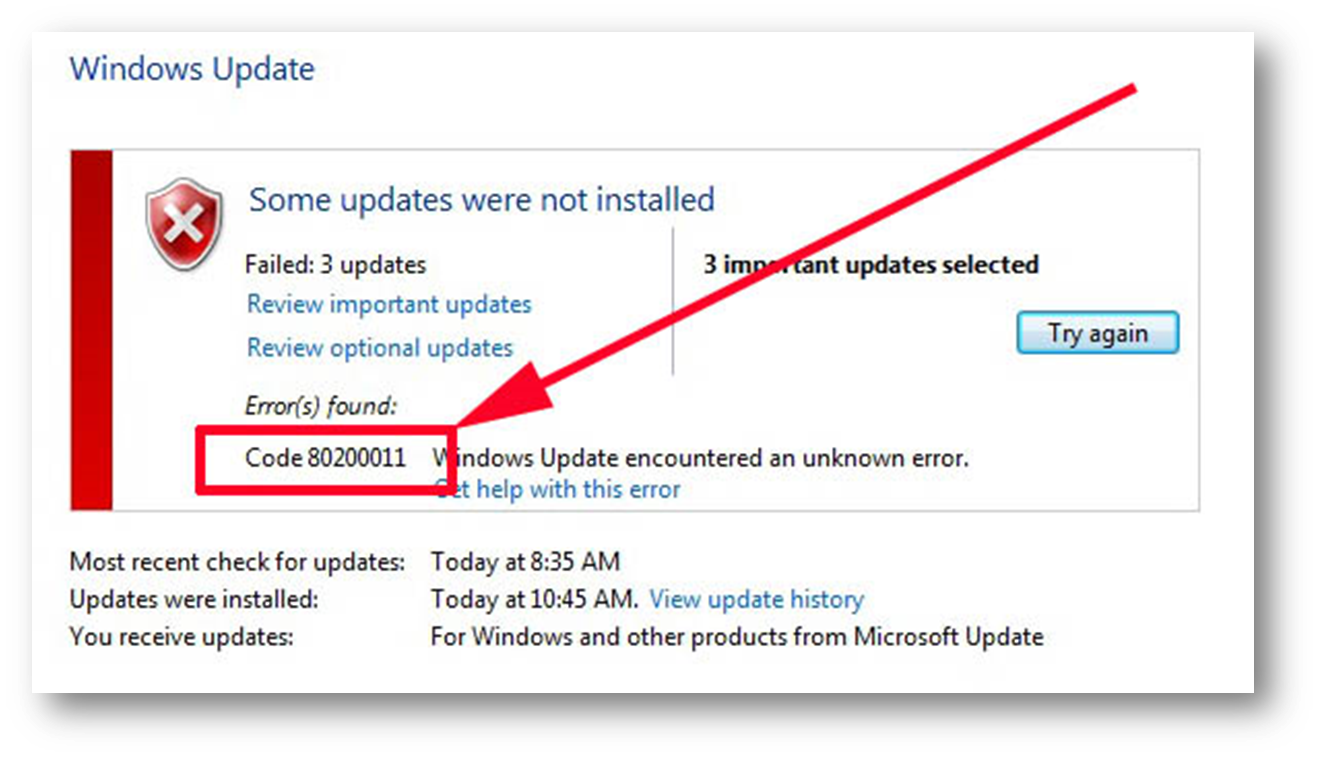
Sometimes, while trying to update any file using Windows Update, you may come across an error 0x800B0109 that might be annoying.
This happens when Windows continuously fail to search for an update or cannot install the updates.
Here at Ibmi Media, as part of our Server Management Services, we regularly help our Customers to fix Windows-related errors.
In this context, we shall look into steps to resolve Windows Update error.
Main causes of Windows update error 0x800B0109 ?
Sometimes, when a Windows update is trying to install an update it may throw an error message 0x800B0109. This happens if the file that Windows is trying to update is either damaged or missing. This happens in most cases, be it a security update or a cumulative update.
There can be many reasons for this error to occur, that include Windows Registry, Windows Filesystem, internet access, Windows Update service, file corruption, misconfiguration, Adware, virus, and Malware
In almost all cases, no matter how many times we restart the computer, the update will continue to fail constantly and we will not be able to update it no matter what.
How to fix Windows update error 0x800B0109 ?
To fix this Windows update error, you can apply the following methods:
Method 1: Clean the Windows Update temporary cache folder
i. Stop Windows Update service
a. First, in the Run prompt, we type “services.msc”.
b. A new window will open containing all Windows services on the system.
c. Here, we search for “Windows Update”.
d. Then we right-click on the “Windows Update” and then click Stop.
ii. Clean the Windows Update temporary cache folder
a. Now, we type %windir%\SoftwareDistribution\DataStore in the Run prompt and click OK.
b. As a result, it will open Windows Explorer in the correct location.
c. Then we delete all contents of this folder.
iii. Start Windows Update service
a. We type “services.msc” in the Run prompt.
b. A new window will open containing all Windows services on the system.
c. Here, we search for “Windows Update”.
d. Then we right-click on the “Windows Update” and then click Start.
Method 2: Run SFC utility to fix 0x800B0109 error
We run the System File Checker (SFC) utility if the problem still persists.
i. First, we click Start type “cmd”.
ii. In the search results, cmd will show up with a black icon.
iii. Now, we right-click on it and select Run as administrator.
iv. If prompted for the admin password, we enter the password and click OK.
v. A new completely black window will open where we type sfc/scannow and press Enter.
This process will take a long time. Once the SFC process finishes, we restart the computer. After the restart, we search for Updates again.
Method 3: Clean Windows Update download path
The Registry Editor is a very powerful tool. We suggest taking a backup before modifying anything, as it may cause problems, and we want to have a safe solution. After opening it, we just click File on the top left corner and choose Export.
Then we set the settings and save a backup of the registry.
i. First, we type “regedit” in the Run prompt and press Enter
ii. Next, we expand HKLM, then Software, Policies, Microsoft, Windows, and finally Windows Update.
iii. After finding it, we search for WUServer and WIStatusServer in the right-hand pane.
iv. If they are not listed, we cannot clean the download path. Otherwise, we delete both.
v. Finally, we restart the server.
Method 4: Run the Windows Update troubleshooter to fix 0x800B0109 error
This issue with Windows Update can be solved by running the Windows Update troubleshooter.
For that, we run Windows Update troubleshooter from Control Panel >> Troubleshooting >> View all and we select Windows Update and follow the on-screen instructions.
[Need urgent assistance in fixing Windows errors? – We are here to help you. ]
Conclusion
This article will guide you on steps to fix the #windows #update error 0x800B0109.
Windows error code #0x80070422 refers to an inability of Windows 7 to startup the Windows Update service so your computer can connect to the update servers at Microsoft.
Steps For Fixing #Error Code #0x800b0109:
1. Open Administrative Tools from Control Panel. Open Control Panel, type administrative tools in the search box, and then click Administrative Tools.
2. Double-click Services. If you’re prompted for an administrator password or confirmation, type the password or provide confirmation.
3. Right-click the Background Intelligent Transfer Service (BITS) service, and then click Properties.
4. On the General tab, next to Startup type, make sure that Automatic (Delayed Start) is selected.
5. Next to Service status, check to see if the service is started. If it’s not, click Start.
6. Click OK to close the #Properties dialog box.
7. Right-click the Windows Event Log service, and then click Properties.
8. On the General tab, next to Startup type, make sure that Automatic is selected.
9. Next to Service status, check to see if the service is started. If it’s not, click Start.


