Are you confused about using Nmap to scan Open Ports?
This guide will help you.
Nmap builds on previous network auditing tools to provide quick, detailed scans of network traffic.
It works by using IP packets to identify the hosts and IPs active on a network and then analyze these packets to provide information on each host and IP, as well as the operating systems they are running.
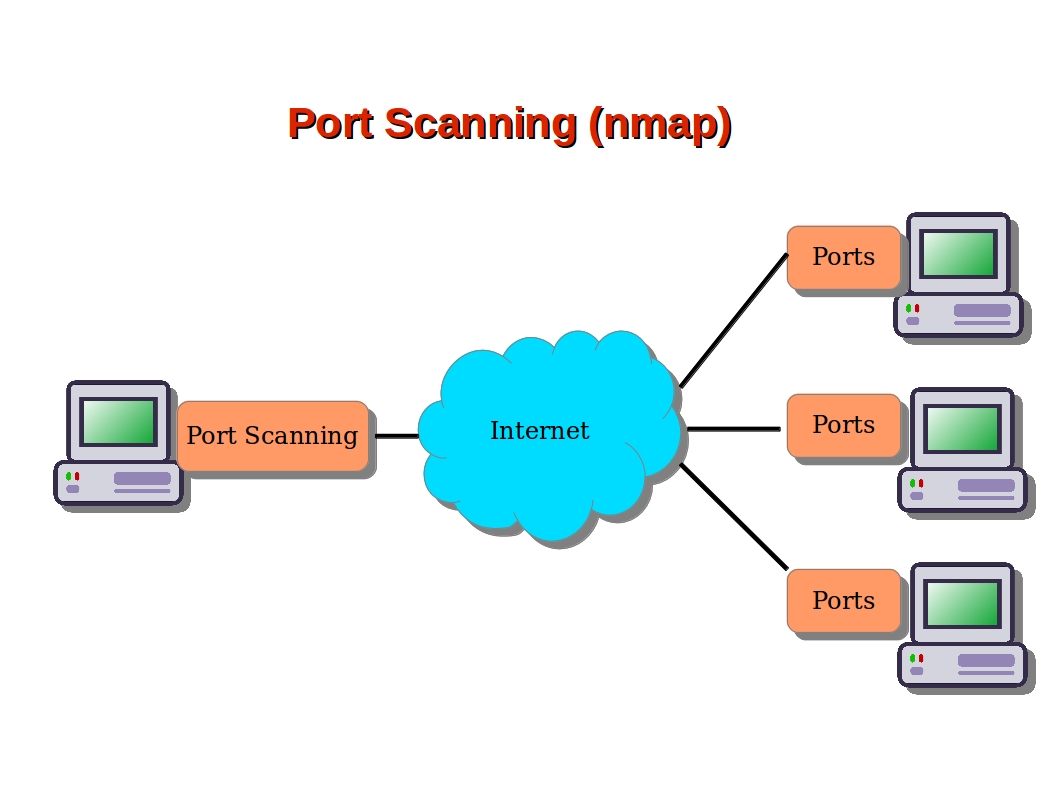
A single IP address can have several services running, such as a web server, an application server, etc. In order for each of them to communicate, they listen and communicate on a specific port.
Hence, when we make a connection to a server, we connect to both the IP address and a port.
For example, when we connect to https://ibmimedia.com, we connect to the ibmimedia.com server on port 443, the default port for secure web traffic.
Here at Ibmi Media, as part of our Server Management Services, we regularly help our Customers to perform Nmap related queries.
In this context, we shall look into how to use Nmap to scan Open Ports.
How To Use Nmap to Scan Open Ports?
Here, let us discuss ports in detail.
World's leading port security network scanner, Nmap hosted security tool can help us determine how well the firewall and security configuration is working.
"nmap" scans IPv4 addresses by default. However, if we specify the proper option, it can also scan IPv6 addresses.
How to Identify Common Ports ?
Ports are specified by a number ranging from 1 to 65535.
We cannot register ports between 49152 and 65535 and are suggested for private use.
Since there is a vast number of ports available, we don't have to bother the majority of the services that tend to bind to specific ports.
However, there are some ports that are worth knowing due to their ubiquity.
The following are a few:
20: FTP data21: FTP control port22: SSH23: Telnet25: SMTP43: WHOIS protocol53: DNS services67: DHCP server port68: DHCP client port80: HTTP – Unencrypted Web traffic110: POP3 mail port113: Ident authentication services on IRC networks143: IMAP mail port161: SNMP194: IRC389: LDAP port443: HTTPS – Secure web traffic587: SMTP – message submission port631: CUPS printing daemon port666: DOOM – This legacy game actually has its own special port
To configure a specific application we need to find the appropriate ports.
We should make sure, both the client and server are configured to use a non-standard port.
To get a list of a few common ports, look at the /etc/services file:
$ less /etc/servicesThe output will have a list of common ports and their associated services:
Output
. . .tcpmux 1/tcp # TCP port service multiplexerecho 7/tcpecho 7/udpdiscard 9/tcp sink nulldiscard 9/udp sink nullsystat 11/tcp usersdaytime 13/tcpdaytime 13/udpnetstat 15/tcpqotd 17/tcp quotemsp 18/tcp # message send protocol. . .How to check Open Ports ?
Generally, we have a number of tools to scan for open ports.
netstat is the default for most Linux distributions.
To easily discover the services running, we can issue:
$ sudo netstat -pluntWe will receive a result like the following:
Output
Proto Recv-Q Send-Q Local Address Foreign Address State PID/Program nametcp 0 0 0.0.0.0:22 0.0.0.0:* LISTEN 785/sshdtcp6 0 0 :::22 :::* LISTEN 785/sshdOur output shows the port and listening socket associates with the service and lists both UDP and TCP protocols.
How to use Nmap ?
Part of securing a network involves infiltrating the network and discovering weaknesses in the same way an attacker might.
Out of all of the available tools for this, the most powerful is the Nmap tool.
To install Nmap on an Ubuntu or Debian machine, we run:
$ sudo apt-get update$ sudo apt-get install nmapThe installation gives us an improved port mapping file. A more extensive association between ports and services can be seen at:
$ less /usr/share/nmap/nmap-servicesOutput
. . .tcpmux 1/tcp 0.001995 # TCP Port Service Multiplexer [rfc-1078]tcpmux 1/udp 0.001236 # TCP Port Service Multiplexercompressnet 2/tcp 0.000013 # Management Utilitycompressnet 2/udp 0.001845 # Management Utilitycompressnet 3/tcp 0.001242 # Compression Processcompressnet 3/udp 0.001532 # Compression Processunknown 4/tcp 0.000477rje 5/udp 0.000593 # Remote Job Entryunknown 6/tcp 0.000502echo 7/tcp 0.004855echo 7/udp 0.024679echo 7/sctp 0.000000. . .How to Scan Ports with Nmap ?
Nmap can reveal a lot of information about a host. For this reason, our Support Experts recommend testing it on your own servers or after notifying the owners.
The Nmap creators provide a test server located at scanme.nmap.org. This or your own servers are good targets for practicing Nmap.
Moving ahead let us see a few common operations we can perform with Nmap.
Scan for the host operating system:
$ sudo nmap -O scanme.nmap.orgWe assume the host is online and skip the network discovery portion.
This helps if we get the reply, “Note: Host seems down” in other tests.
Add this to the other options:
$ sudo nmap -PN scanme.nmap.orgScan without performing a reverse DNS lookup on the IP address specified.
This will speed up the results in most cases:
$ sudo nmap -n scanme.nmap.orgScan a specific port instead of all common ports:
$ sudo nmap -p 80 scanme.nmap.orgTo scan for TCP connections, Nmap can perform a 3-way handshake, with the targeted port. Execute it like this:
$ sudo nmap -sT scanme.nmap.orgSimilarly, to scan for UDP connections, we type:
$ sudo nmap -sU scanme.nmap.orgWe can scan for every TCP and UDP open port using:
$ sudo nmap -n -PN -sT -sU -p- scanme.nmap.orgA TCP “SYN” scan exploits the way that TCP establishes a connection.
To perform an SYN scan, we execute:
$ sudo nmap -sS scanme.nmap.orgA more stealthy approach is to send invalid TCP headers.
This will work on non-Windows-based servers.
We can use the “-sF”, “-sX”, or “-sN” flags.
All of which will produce the response we look for:
$ sudo nmap -PN -p 80 -sN scanme.nmap.orgTo check the version of a service is running on the host, we try this command.
It tries to determine the service and version by testing different responses from the server:
$ sudo nmap -PN -p 80 -sV scanme.nmap.orgFinally, we can use Nmap to scan multiple machines.
In addition, to specify a range of IP addresses with “-” or “/24” to scan a number of hosts at once, we run:
$ sudo nmap -PN xxx.xxx.xxx.xxx-yyyOr scan a network range for available services with a command like this:
$ sudo nmap -sP xxx.xxx.xxx.xxx-yyyThis should help us explore the networking vulnerabilities.
[Need urgent help with Nmap? We are here for you. ]
Conclusion
This article covers how to use Nmap to Scan Open Ports. Nmap is the world's leading port security network scanner. The Nmap hosted security tool can help you determine how well your firewall and security configuration is working.
How would you tell Nmap to scan all ports?
By default, Nmap scans the 1,000 most popular ports of each protocol it is asked to scan.
Alternatively, you can specify the -F (fast) option to scan only the 100 most common ports in each protocol or --top-ports to specify an arbitrary number of ports to scan.
The OS and Service scanning options are helpful for scanning a particular port or service to get more information.
If a service is running on a non-default port, it might be by design – or it might suggest there is a security breach.
Ports often have a default usage. Most ports under 1000 are dedicated and assigned to a specific service.
What file does Nmap use to determine which ports to scan?
Nmap needs an nmap-services file with frequency information in order to know which ports are the most common.
Malicious ("black hat") hackers (or crackers) commonly use port scanning software to find which ports are "open" (unfiltered) in a given computer, and whether or not an actual service is listening on that port. They can then attempt to exploit potential vulnerabilities in any services they find.


