Jenkins is one of the most popular open-source automation servers, often used to orchestrate continuous integration (CI) and/or continuous deployment (CD) workflows.
Configuring Jenkins is typically done manually through a web-based setup wizard; this can be a slow, error-prone, and non-scalable process.
Jenkins Configuration as Code (JCasC) method can help us to automate the setup of Jenkins using Docker.
Here at Ibmi Media, as part of our Server Management Services, we regularly help our Customers to perform Docker related requests.
In this context, we shall look into how to automate Jenkins setup with Docker and JCasC.
How to automate Jenkins setup with Docker and Jenkins configuration as code?
Here will automate the installation and configuration of Jenkins using Docker and the Jenkins Configuration as Code (JCasC) method.
This involves the following steps:
1. Disabling the Setup Wizard
2. Installing Jenkins Plugins
3. Specifying the Jenkins URL
4. Creating a User
5. Setting Up Authorization
6. Setting Up Build Authorization
7. Enabling Agent to Controller Access Control
Now, Let's take a look at each of these steps in detail.
How to Disable jenkins Setup Wizard ?
The jenkins/jenkins image allows us to enable or disable the setup wizard by passing in a system property named jenkins.install.runSetupWizard via the JAVA_OPTS environment variable.
i. First, create a new directory inside the server to store the files that will be created:
$ mkdir -p $HOME/playground/jcascii. Then, navigate inside that directory:
$ cd $HOME/playground/jcasciii. Next, using your editor, create a new file named Dockerfile:
$ nano $HOME/playground/jcasc/Dockerfileiv. Then, copy the following content into the Dockerfile:
FROM jenkins/jenkins:latest
ENV JAVA_OPTS -Djenkins.install.runSetupWizard=false
Here, we are using the FROM instruction to specify jenkins/jenkins:latest as the base image, and the ENV instruction to set the JAVA_OPTS environment variable.
v. Save the file and exit the editor by pressing CTRL+X followed by Y.
vi. With these modifications in place, build a new custom Docker image and assign it a unique tag (we will use jcasc here):
$ docker build -t jenkins:jcasc .Now, we will see output similar to the following:
Sending build context to Docker daemon 2.048kB
Step 1/2 : FROM jenkins/jenkins:latest
---> 1f4b0aaa986e
Step 2/2 : ENV JAVA_OPTS -Djenkins.install.runSetupWizard=false
---> 7566b15547af
Successfully built 7566b15547af
Successfully tagged jenkins:jcasc
vii. Once built, run the custom image by running docker run:
$ docker run --name jenkins --rm -p 8080:8080 jenkins:jcascJenkins will take a short period of time to initiate. When Jenkins is ready, we will see a message that Jenkins is fully up and running
Now, open up the browser to server_ip:8080. We will immediately see the dashboard without the setup wizard.
Here, the web interface may show warnings on the missing authentication, authorization schemes, and incorrect permission of anonymous users.
How to install Jenkins Plugins ?
To use JCasC, we need to install the Configuration as Code plugin.
We can confirm the installed plugin list by navigating to http://server_ip:8080/pluginManager/installed.
To automate the plugin installation process, we can make use of an installation script present inside the container at /usr/local/bin/install-plugins.sh.
To use it, you would need to:
1. Create a text file containing a list of plugins to install.
2. Copy it into the Docker image.
3. Run the install-plugins.sh script to install the plugins.
i. Start by using using the editor, create a new file named plugins.txt:
$ nano $HOME/playground/jcasc/plugins.txtii. Then, add in the following newline-separated list of plugin names and versions (using the format <id>:<version>):
ant:latest
antisamy-markup-formatter:latest
build-timeout:latest
cloudbees-folder:latest
configuration-as-code:latest
credentials-binding:latest
email-ext:latest
git:latest
github-branch-source:latest
gradle:latest
ldap:latest
mailer:latest
matrix-auth:latest
pam-auth:latest
pipeline-github-lib:latest
pipeline-stage-view:latest
ssh-slaves:latest
timestamper:latest
workflow-aggregator:latest
ws-cleanup:latest
iii. Finally, Save the file and exit the editor.
The list contains the Configuration as Code plugin, as well as all the plugins suggested by the setup wizard. For example, we have the Git plugin, which allows Jenkins to work with Git repositories.
We can also find a list of the most popular community-contributed plugins at plugins.jenkins.io.
How to Copy file into the Docker image ?
i. Next, open up the Dockerfile file that we created in the initial step.
ii. Here, add a COPY instruction to copy the plugins.txt file into the /usr/share/jenkins/ref/ directory inside the image.
This is where Jenkins normally looks for plugins.
iii. Then, include an additional RUN instruction to run the install-plugins.sh script:
FROM jenkins/jenkins
ENV JAVA_OPTS -Djenkins.install.runSetupWizard=false
COPY plugins.txt /usr/share/jenkins/ref/plugins.txt
RUN /usr/local/bin/install-plugins.sh < /usr/share/jenkins/ref/plugins.txt
iv. Save the file and exit the editor. Then, build a new image using the revised Dockerfile:
$ docker build -t jenkins:jcasc .This step involves downloading and installing many plugins into the image and may take some time to run depending on your internet connection.
v. Once the plugins have finished installing, run the new Jenkins image:
$ docker run --name jenkins --rm -p 8080:8080 jenkins:jcascNow if we navigate to the plugin list on the plugin Manager interface, we will see a solid checkbox next to all the plugins we specified inside plugins.txt, as well as a faded checkbox next to plugins, which are dependencies of those plugins.
vi. After confirming that the Configuration As Code plugin is installed, terminate the container process by pressing CTRL+C.
How to Specifying the Jenkins URL ?
The Jenkins URL is a URL for the Jenkins instance that is routable from the devices that need to access it.
We can set the Jenkins URL using the Configuration as Code plugin with the steps below:
1. Define the desired configuration of the Jenkins instance inside a declarative configuration file.
2. Copy the configuration file into the Docker image.
3. Set the CASC_JENKINS_CONFIG environment variable to the path of the configuration file to instruct the Configuration as Code plugin to read it.
i. First, create a new file named casc.yaml:
$ nano $HOME/playground/jcasc/casc.yamlii. Then, add in the following lines:
unclassified:
location:
url: http://server_ip:8080/
unclassified.location.url is the path for setting the Jenkins URL.
iii. Save the casc.yaml file, exit your editor, and open the Dockerfile file:
$ nano $HOME/playground/jcasc/DockerfileAdd a COPY instruction to the end of the Dockerfile that copies the casc.yaml file into the image at /var/jenkins_home/casc.yaml.
We have chosen /var/jenkins_home/ because that is the default directory where Jenkins stores all of its data:
FROM jenkins/jenkins:latest
ENV JAVA_OPTS -Djenkins.install.runSetupWizard=false
COPY plugins.txt /usr/share/jenkins/ref/plugins.txt
RUN /usr/local/bin/install-plugins.sh < /usr/share/jenkins/ref/plugins.txt
COPY casc.yaml /var/jenkins_home/casc.yaml
iv. Then, add a further ENV instruction that sets the CASC_JENKINS_CONFIG environment variable:
FROM jenkins/jenkins:latest
ENV JAVA_OPTS -Djenkins.install.runSetupWizard=false
ENV CASC_JENKINS_CONFIG /var/jenkins_home/casc.yaml
COPY plugins.txt /usr/share/jenkins/ref/plugins.txt
RUN /usr/local/bin/install-plugins.sh < /usr/share/jenkins/ref/plugins.txt
COPY casc.yaml /var/jenkins_home/casc.yaml
We have put the ENV instruction near the top because it is something that we are unlikely to change.
By placing it before the COPY and RUN instructions, we can avoid invalidating the cached layer if we were to update the casc.yaml or plugins.txt.
v. Save the file and exit the editor. Next, build the image and run the updated Jenkins image as we did in the initial step.
vi. Now, navigate to server_ip:8080/configure and scroll down to the Jenkins URL field. Confirm that the Jenkins URL has been set to the same value specified in the casc.yaml file.
vii. Lastly, stop the container process by pressing CTRL+C.
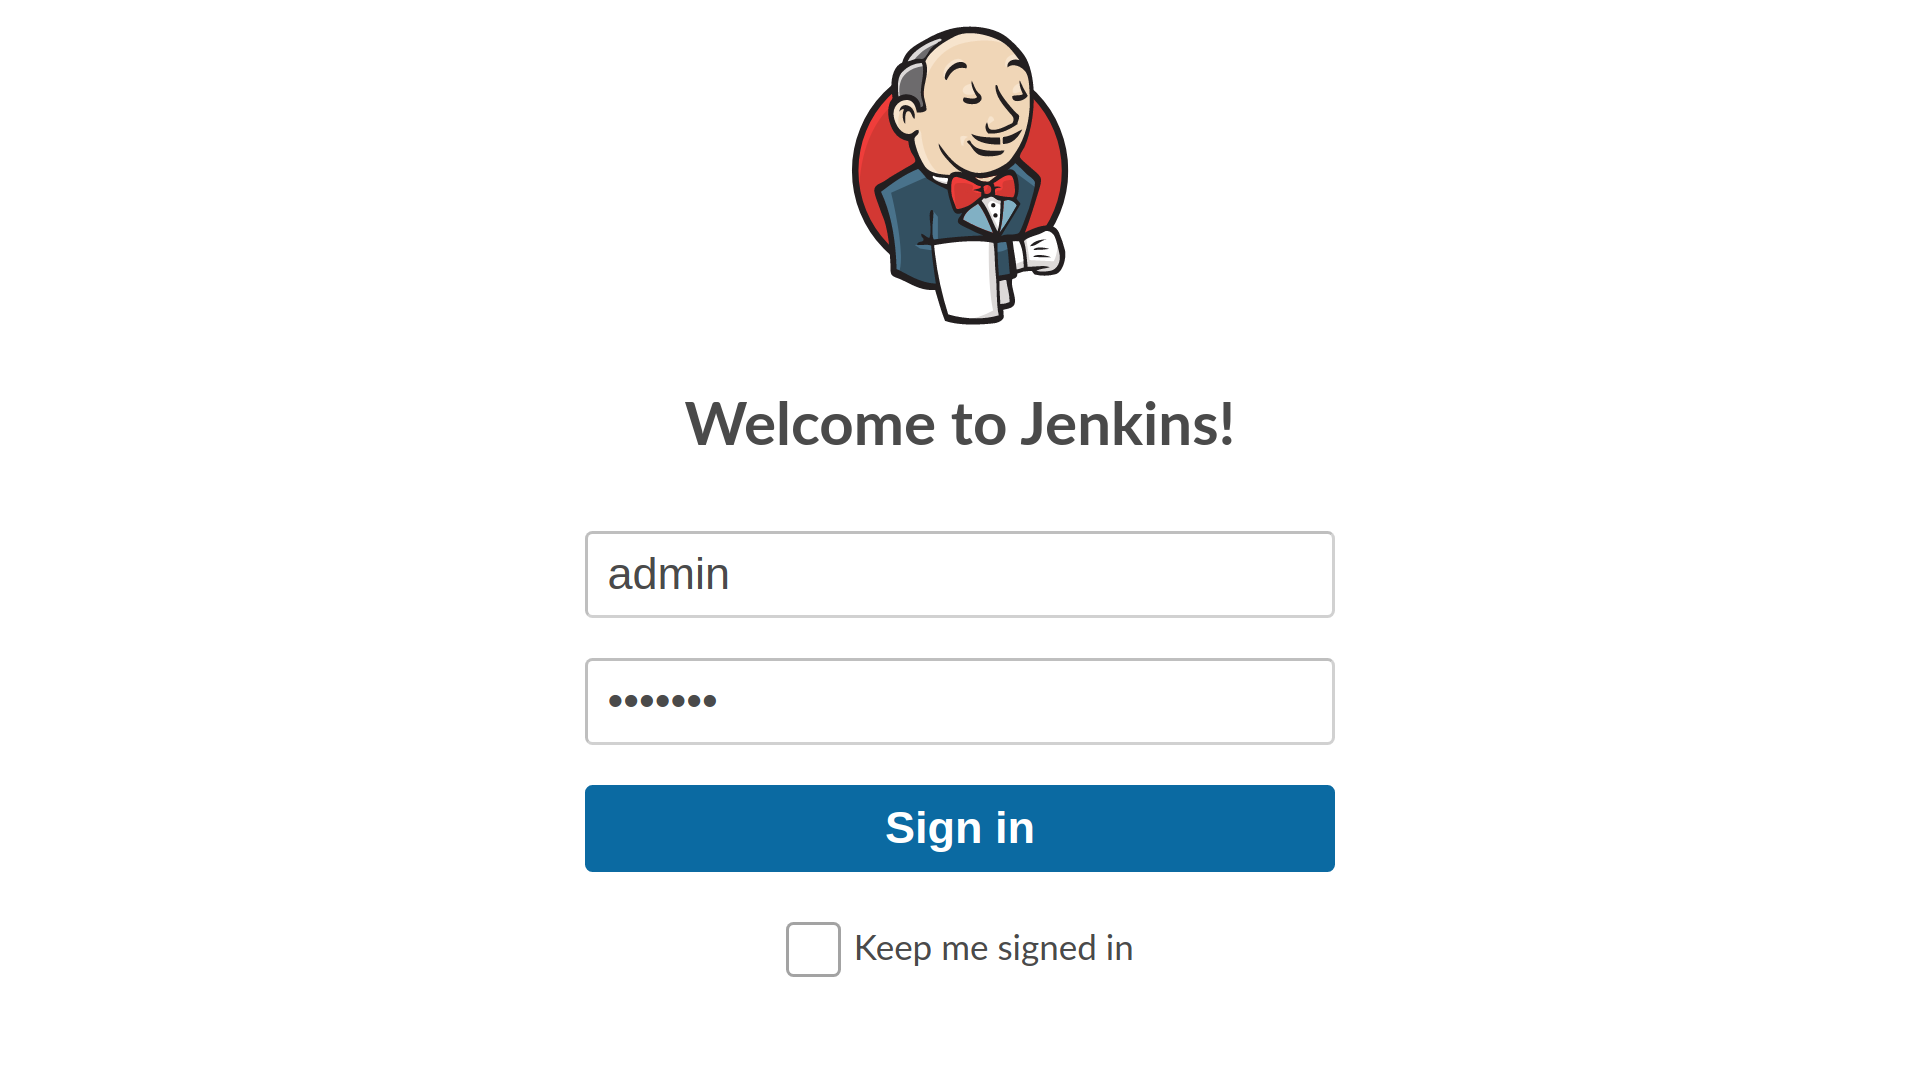
How to create a User in Jenkins ?
Here, we will set up a basic, password-based authentication scheme and create a new user named admin.
i. Start by opening the casc.yaml file:
$ nano $HOME/playground/jcasc/casc.yamlii. Then, add in the highlighted snippet:
jenkins:
securityRealm:
local:
allowsSignup: false
users:
- id: ${JENKINS_ADMIN_ID}
password: ${JENKINS_ADMIN_PASSWORD}
unclassified:
...
The local security realm means to use basic authentication where users must specify their ID/username and password.
Further the allowsSignup: false, prevents anonymous users from creating an account through the web interface.
iii. Next, build a new image to incorporate the changes made to the casc.yaml file:
$ docker build -t jenkins:jcasc .iv. Then, run the updated Jenkins image whilst passing in the JENKINS_ADMIN_ID and JENKINS_ADMIN_PASSWORD environment variables via the –env option:
$ docker run --name jenkins --rm -p 8080:8080 --env JENKINS_ADMIN_ID=admin --env JENKINS_ADMIN_PASSWORD=password jenkins:jcascWe can now go to server_ip:8080/login and log in using the specified credentials.
v. Finish this step by pressing CTRL+C to stop the container.
Set Up Authorization in Jenkins ?
Here, we will use the Matrix Authorization Strategy plugin to configure permissions for your admin user.
By default, the Jenkins core installation provides us with three authorization strategies:
1. unsecured: every user, including anonymous users, have full permissions to do everything
2. legacy: any users with the role admin are given full permissions, whilst other users, including anonymous users, are given read access.
3. loggedInUsersCanDoAnything: anonymous users are given either no access or read-only access. Authenticated users have full permissions to do everything.
The Matrix Authorization Strategy plugin provides a granular authorization strategy.
It allows us to set user permissions globally, as well as per project/job.
It also allows us to use the jenkins.authorizationStrategy.globalMatrix.permissions JCasC property to set global permissions.
i. To use it, open the casc.yaml file:
$ nano $HOME/playground/jcasc/casc.yamlAnd add in the highlighted snippet:
...
- id: ${JENKINS_ADMIN_ID}
password: ${JENKINS_ADMIN_PASSWORD}
authorizationStrategy:
globalMatrix:
permissions:
- "Overall/Administer:admin"
- "Overall/Read:authenticated"
unclassified:
...
The globalMatrix property sets global permissions.
Here, we are granting the Overall/Administer permissions to the admin user. We are also granting Overall/Read permissions all authenticated users.
ii. Save the casc.yaml file, exit your editor, and build a new image:
$ docker build -t jenkins:jcasc .iii. Then, run the updated Jenkins image:
$ docker run --name jenkins --rm -p 8080:8080 --env JENKINS_ADMIN_ID=admin --env JENKINS_ADMIN_PASSWORD=password jenkins:jcasciv. Before you continue, stop the container by pressing CTRL+C.
How Set Up Build Authorization in Jenkins ?
By default, all jobs are run as the system user, which has a lot of system privileges.
As this is a security weak point, jobs should be run using the same Jenkins user that configured or triggered it.
Thus, to achieve this, we need to install an additional plugin called the Authorize Project plugin.
i. Open plugins.txt:
$ nano $HOME/playground/jcasc/plugins.txtAnd add the highlighted line:
ant:latest
antisamy-markup-formatter:latest
authorize-project:latest
build-timeout:latest
...
The plugin provides a new build authorization strategy, which we would need to specify in the JCasC configuration.
ii. Exit out of the plugins.txt file and open the casc.yaml file:
$ nano $HOME/playground/jcasc/casc.yamlAdd the highlighted block to your casc.yaml file:
...
- "Overall/Administer:admin"
- "Overall/Read:authenticated"
security:
queueItemAuthenticator:
authenticators:
- global:
strategy: triggeringUsersAuthorizationStrategy
unclassified:
...
iii. Save the file and exit the editor. Then, build a new image using the modified plugins.txt and casc.yaml files:
$ docker build -t jenkins:jcasc .iv. Then, run the updated Jenkins image:
$ docker run --name jenkins --rm -p 8080:8080 --env JENKINS_ADMIN_ID=admin --env JENKINS_ADMIN_PASSWORD=password jenkins:jcascv. Stop the container by running CTRL+C before continuing.
How to enable Agent to Controller Access Control in Jenkins ?
Jenkins supports distributed builds using an agent/controller configuration.
The controller is responsible for providing the web UI, exposing an API for clients to send requests to, and co-ordinating builds.
The agents are the instances that execute the jobs.
The benefit of this configuration is that it is more scalable and fault-tolerant. If one of the servers running Jenkins goes down, other instances can take up the extra load.
However, there may be instances where the agents cannot be trusted by the controller. Enabling Agent to Controller Access Control, we can control which commands and files the agents have access to.
i. To enable Agent to Controller Access Control, open the casc.yaml file:
$ nano $HOME/playground/jcasc/casc.yamlii. Then, add the following highlighted lines:
...
- "Overall/Administer:admin"
- "Overall/Read:authenticated"
remotingSecurity:
enabled: true
security:
queueItemAuthenticator:
...
iii. Now, save the file and build a new image:
$ docker build -t jenkins:jcasc .iv. Run the updated Jenkins image:
$ docker run --name jenkins --rm -p 8080:8080 --env JENKINS_ADMIN_ID=admin --env JENKINS_ADMIN_PASSWORD=password jenkins:jcasc[Need urgent assistance with Jenkins setup with Docker? – We're available 24*7. ]
Conclusion
This article covers how to perform Jenkins Configuration as Code (JCasC) method which can help us to automate the setup of Jenkins using Docker.
This will automate the installation and configuration of Jenkins using Docker and the Jenkins Configuration as Code (JCasC) method.
Jenkins uses a pluggable architecture to provide most of its functionality.
JCasC makes use of the Configuration as Code plugin, which allows you to define the desired state of your Jenkins configuration as one or more YAML file(s), eliminating the need for the setup wizard.
On initialization, the Configuration as Code plugin would configure Jenkins according to the configuration file(s), greatly reducing the configuration time and eliminating human errors.
Just as the Pipeline plugin enables developers to define their jobs inside a Jenkinsfile, the Configuration as Code plugin enables administrators to define the Jenkins configuration inside a YAML file.
Both of these plugins bring Jenkins closer aligned with the Everything as Code (EaC) paradigm.


