Are you trying to add a user in VestaCP?
This guide is for you.
VestaCP (Vesta Control Panel) is an open-source hosting control panel. It is free and we can use it on multiple servers.
Here at Ibmi Media, as part of our Server Management Services, we regularly help our Customers to resolve VestaCP related queries.
In this context, we shall look into how to add users to Vesta Control Panel.
How to add user in VestaCP ?
To add a user on VestaCP, follow the steps given below.
1. First, we login to the Vesta control panel. For that, we use the below link:
https://{Enter server IP address or hostname}:80832. Next, we click on the “User” tab to list users and then click on the Green “+” button to add a new user.
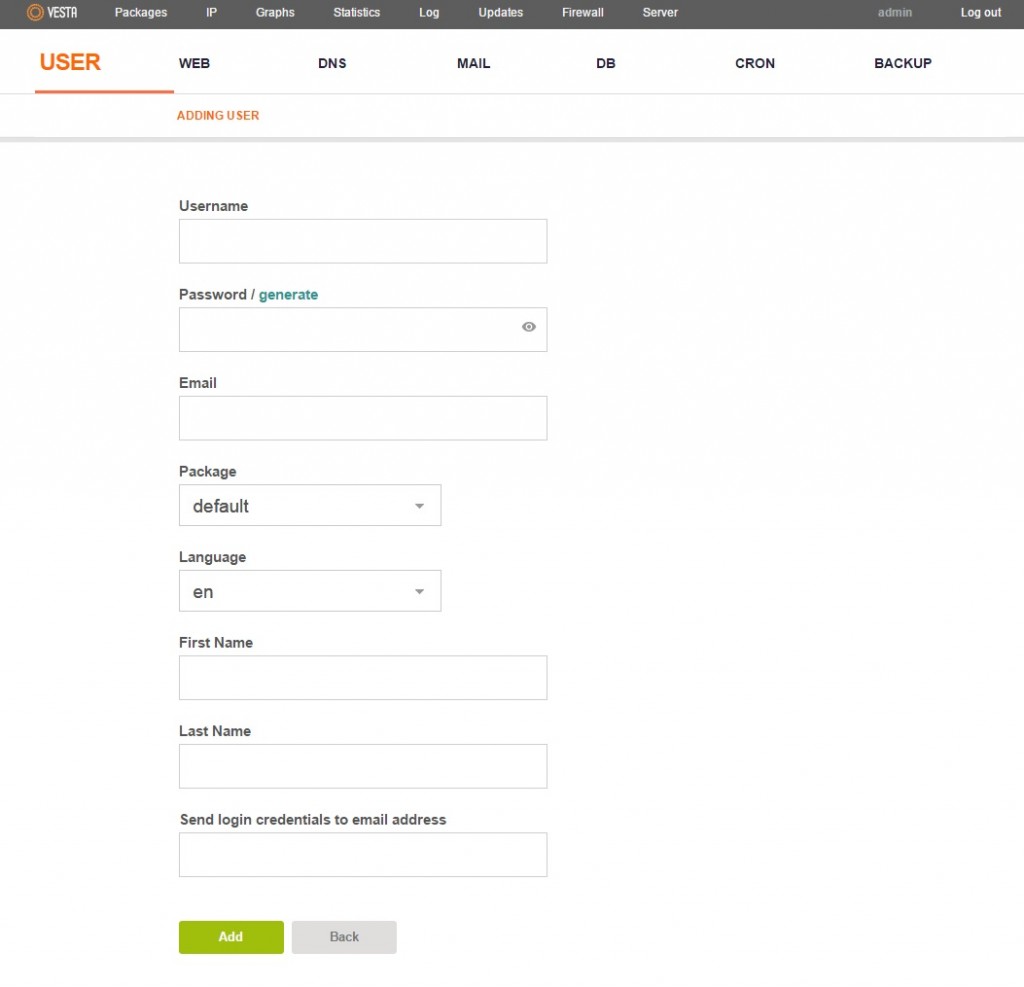
3. Now a new page would come up in which we will have to provide the following information.
i. Username: The username we want to assign.
ii. Password: Provide a strong password for the user
iii. Email: We can provide an email ID for the user we create.
iv. Package: If we have any package in the server and will like to assign for this user then select that package.
v. Language: We can opt for any available language. Choose English (“en”)
vi. First Name & Last Name: Provide the first name and last name
4. After entering all the necessary details, we can then click on the “ADD” button. The login credentials will be sent to the registered email address.
5. Now we have successfully created a user. So now we can either switch as the new user or we can sign out from the admin account and then sign in again using the credentials of the new user.
[Need urgent assistance with VestaCP queries? We will help you. ]
Conclusion
This article covers how to add a user in VestaCP. Vesta control panel (VestaCP) is an open source hosting control panel, which can be used to manage multiple websites, creat and manage email accounts, FTP accounts, and MySQL databases, manage DNS records and so on.
To Add / Edit User in VestaCP:
1. First, click the USER tab on top, then click the green coloured “+” to add a new user.
2. Fill in the details for the new user. Click “Add” when you’ve completed the info.
3. This message will pop up if all the info are filled in correctly.
Now, you will see 2 users to choose from. Access the newly created user by clicking on “Login as (username)”.
Each user can manage their own web, DNS, mail and database, etc.
You can also perform edit, deletion or suspension of user accounts using the buttons shown in the red box.
To uninstall Vesta Control panel:
1. Stop vesta service. service vesta stop.
Remove vesta packages and software repository. RHEL/CentOS: yum remove vesta* rm -f /etc/yum.repos.d/vesta.repo. Debian/Ubuntu: apt-get remove vesta* rm -f /etc/apt/sources.list.d/vesta.list.
2. Delete data directory and cron.


