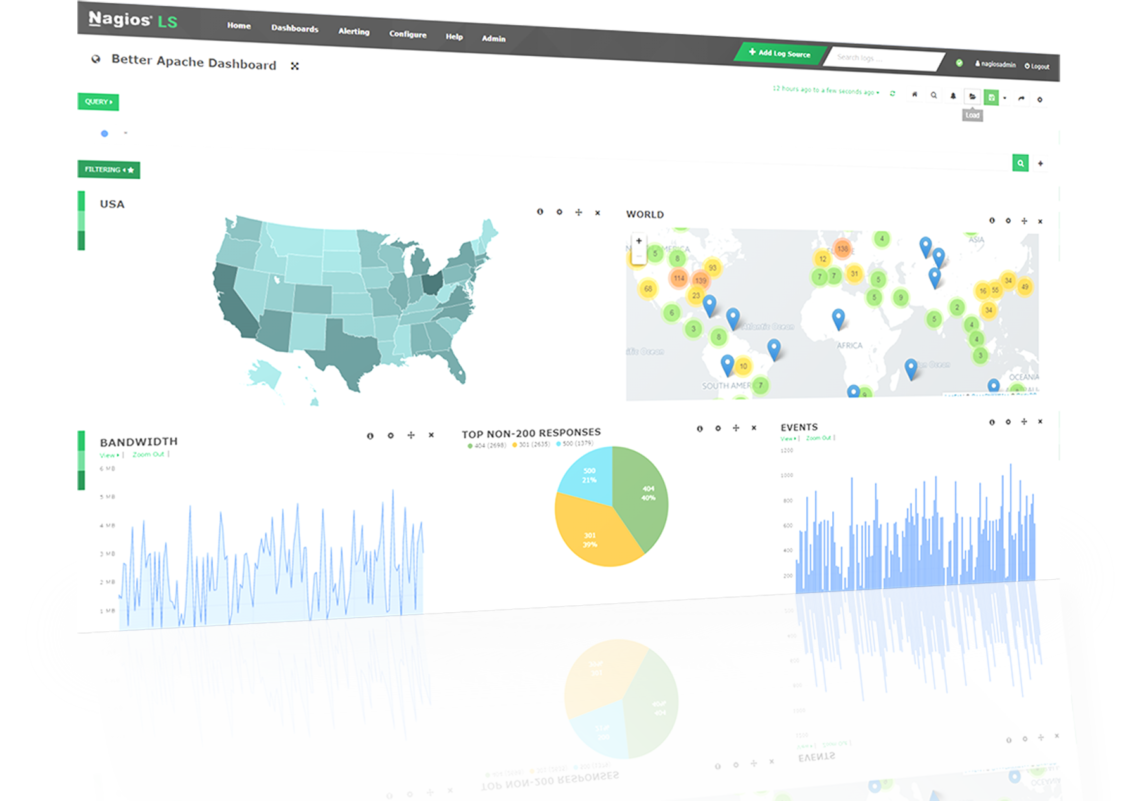
Forwarding Windows logs to Nagios log server can be done effectively by simply adding a log source, install and configure NXLog CE, and then starting the service before verifying the incoming logs.
Here at Ibmi Media, as part of our Server Management Services, we regularly help our Customers to solve Nagios related issues.
In this context, we will show you how to forward Windows logs to Nagios log server.
Forwarding windows logs to Nagios log server?
The process of forwarding windows logs to Nagios log server is made possible via a third party software named "NXLog Community Edition (CE)". This will help it to receive logs from Windows.
To implement this configuration, simply follow the following steps;
i. Adding a Log Source.
As stated in the earlier part of this guide, You can add a log source via your Nagios Home page. To do this, start by logging into Nagios Log Server by using the buttons located at the bottom left side of the home page. With the "+" Windows button, you can start sending logs to Nagios Log Server.
In a similar way, you can add log source by clicking on the "+ Add Log Source" button which is available on the navigation bar. Once you do this, then you will be redirected to the "Add Log Source" page. In this page, you can simply start the logs forwarding process by clicking on the "Windows" button.
How to install NXLog CE?
You will notice that at the top of the Windows source page, the "Getting Started" section is available where you can download and install NXLog CE. The installer can be downloaded from your own Nagios Log Server instance.
To get it installed, simply follow the following steps;
i. Start by clicking on the "I accept the terms in the License Agreement" statement.
ii. Next, click on the install button to get the installation going.
iii. Now the installation process will start and once done you will see the Completion screen.
iv. Then you have to click on the "Finish" button to complete the installation.
How to configure NXLog CE?
As soon as NXLog CE is installed successfully on the Windows machine, the the next thing is to configure it.
The Configuration Setup section is available on the Nagios Log Server Windows source page where you will see the configuration code block which needs to be saved on your Windows machine.
To use this, use the "Select All" icon located at the top right of the code block to highlight all the code.
Once completed, you should right click on the highlighted text and select Copy to copy the config into the clipboard.
Now open the notepad program on your Windows Computer. Use it to open the file "C:\Program Files(x86)\nxlog\conf\nxlog.conf".
This will open the "nxlog.conf" file which contains some configuration information by default. You should delete its content and then paste the configuration code block which you copied earlier into this file.
After this save this file and close it to exit the notepad.
How to start the NXLog CE Service?
To start the NXLog CE Service on your Windows machine, open the command prompt as an administrator and run the following command;
net start nxlogThis will get NXLog CE service started to enable the forwarding of Windows logs to the Nagios Log Server. Also, the installer is configured to start the service automatically when Windows boots.
How to verify incoming logs?
To investigate whether Nagios Log Server is receiving data from the Windows server, simply navigate to the "Dashboards" page.
From here, run the following Query on the host field using the IP Address of your Windows host;
host:<Windows Host Address>Need support in solving Nagios issues? We are available to help you today.
Conclusion
This article will guide you on how to configure forwarding Windows logs to the Nagios log server.
This article will guide you on how to configure forwarding Windows logs to the Nagios log server.


