pgAdmin is a management tool for PostgreSQL and derivative relational databases such as EnterpriseDB's EDB Advanced Server.
It may be run either as a web or desktop application.
Here at Ibmi Media, as part of our Server Management Services, we regularly help our Customers to perform Software Installation Tasks on their Servers.
In this context, we shall look into the steps to install PgAdmin on Linux.
Brief Information about PgAdmin?
Basically, pgAdmin is an open-source graphical user interface (GUI) administration and management tool for the PostgreSQL database.
Additionally, it gives a powerful user interface that helps you to easily create, manage, maintain, and use database objects.
Also, it supports all PostgreSQL features, from writing simple SQL queries to developing complex databases.
It features auto-detection and support for objects discovered at run-time, support for administrative queries, syntax-highlighting SQL editor, supportive error messages, and many more.
How to install PgAdmin 4 in Debian 10?
Note that on Debian 10, pgAdmin 3 is shipped with it. Therefore, to install pgAdmin 4, you have to enable the PostgreSQL Global Development Group (PGDG) APT repository which contains the PostgreSQL packages for Debian and Ubuntu.
To do this, execute the following commands;
apt-get install curl ca-certificates gnupgcurl https://www.postgresql.org/media/keys/ACCC4CF8.asc | apt-key add -
Next, you need to create a repository file named "/etc/apt/sources.list.d/pgdg.list" by running the command;
vim /etc/apt/sources.list.d/pgdg.list
Then add the following attribute;
deb http://apt.postgresql.org/pub/repos/apt/ buster-pgdg main
After this, save the file and exit it.
Next,update the APT package cache and install the pgAdmin 4 package by running the following commands;
apt-get updateapt-get install pgadmin4 pgadmin4-apache2
You will be asked to set an email address for the pgAdmin web interface initial user account during the package installation. This email address will be the account name. Provide the email address and press Enter.
Then you will also be asked to set a password for the pgadmin4 initial user account. Provide a strong password and then click Enter to proceed.
After the installation of the packages, the installer activates systemd to start the Apache2 service and enables it to automatically start at system startup, every time the system is rebooted.
Execute the following command to check the status of the service;
systemctl status apache2
On Debian 10, pgAdmin 4 WSGI application is configured to work with Apache HTTP server by default using the "/etc/apache2/conf-available/pgadmin4.conf" configuration file.
How to access the pgAdmin 4 Web Interface Debian?
To access the pgAdmin 4 web interface, simply open a web browser and point it to the following address and click Enter.
http://SERVER_IP/pgadmin4OR
http://localhost/pgadmin4
Once the pgAdmin 4 web login interface appears, enter the email address and password that you had set earlier. Then click on Login.
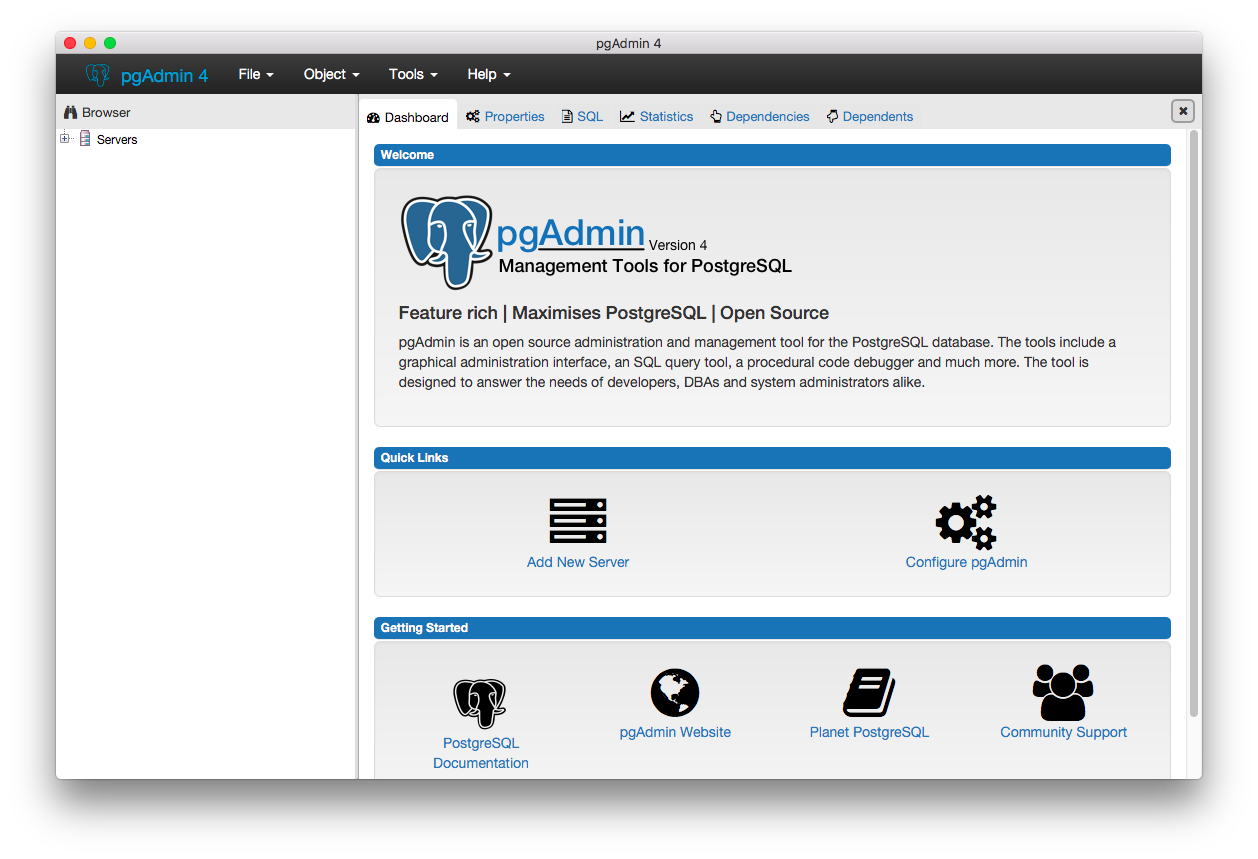
After logging in successfully, the pgAdmin4 web interface default dashboard appears. Then to connect to a database server, click on Add New Server.
Then add the new server connection name and a comment. Next, click on the Connection Tab to provide the connection details i.e. hostname, database name, database username, and password. After entering the details, click Save.
Under the Browser tree, you should now have at least one server connection showing the connection name, number of databases, roles, and table space. Now double click on the Database link to view server performance overview under the Dashboard.
Finally, the pgAdmin Homepage must appear.
[Need additional support to install Software on Ubuntu, Debian Servers? – We are available to help you today.]
Conclusion
This article will guide you on how to install PgAdmin in Debian.
This article will guide you on how to install PgAdmin in Debian.


