Are you trying to install Grafana on CentOS 7?
This guide is for you.
Grafana is designed for analyzing and visualizing metrics such as system CPU, memory, disk and I/O utilization.
Here at Ibmi Media, as part of our Server Management Services, we regularly help our Customers to perform Software on their Linux Servers.
In this context, we shall look into the steps to install Grafana on Linux.
More Information about Grafana ?
Grafana is a free and open-source visualization and analytics monitoring software.
Grafana lets you create alerts, notifications, and ad-hoc filters for your data while also making collaboration with your teammates easier through built-in sharing features. You can install Grafana and secure it with an SSL certificate and an Nginx reverse proxy.
Basically, it has the ability to supports many third-party software applications such as Prometheus, PNP, InfluxDB, Graphite, and so on.
The features include,
i. It brings data together in a way that is both efficient and organized.
ii. Allows users to better understand the metrics of their data through queries, informative visualizations, and alerts.
iii. More customization and power.
How to install Grafana on CentOS 7 ?
Here, we will look into the steps to install Grafana on CentOS 7.
To begin, the prerequisites required before proceeding to installation needs to be installed.
1. CentOS 7 server with root access.
2. Disable SELinux.
Moreover, there are different methods to install Grafana on RPM-based Linux Distributions like Centos/Fedora.
Here, let's see how to install from Grafana repository.
1. Initially, we install Grafana via YUM Repository. For that, we create a repo file.
vim /etc/yum.repos.d/grafana.repo2. Next, we add the following contents to the file;
[grafana]
name=grafana
baseurl=https://packages.grafana.com/oss/rpm
repo_gpgcheck=1
enabled=1
gpgcheck=1
gpgkey=https://packages.grafana.com/gpg.key
sslverify=1
sslcacert=/etc/pki/tls/certs/ca-bundle.crt
3. Again, we install Grafana by the following command:
yum install grafana4. Then, we install additional font packages with the following commands to install the free type and urw fonts.
yum install fontconfig
yum install freetype*
yum install urw-fonts
5. We check the status of the service and enable Grafana Service
systemctl status grafana-serverIf service is not active, we start it using the below command:
systemctl start grafana-server
systemctl enable grafana-server.service
6. Then, we modify the Firewall by changing the firewall configuration to allow Grafana port. So, we run the following command.
firewall-cmd --zone=public --add-port=3000/tcp --permanentOnce the configuration is updated, we reload the firewall service.
firewall-cmd --reloadThat's it.
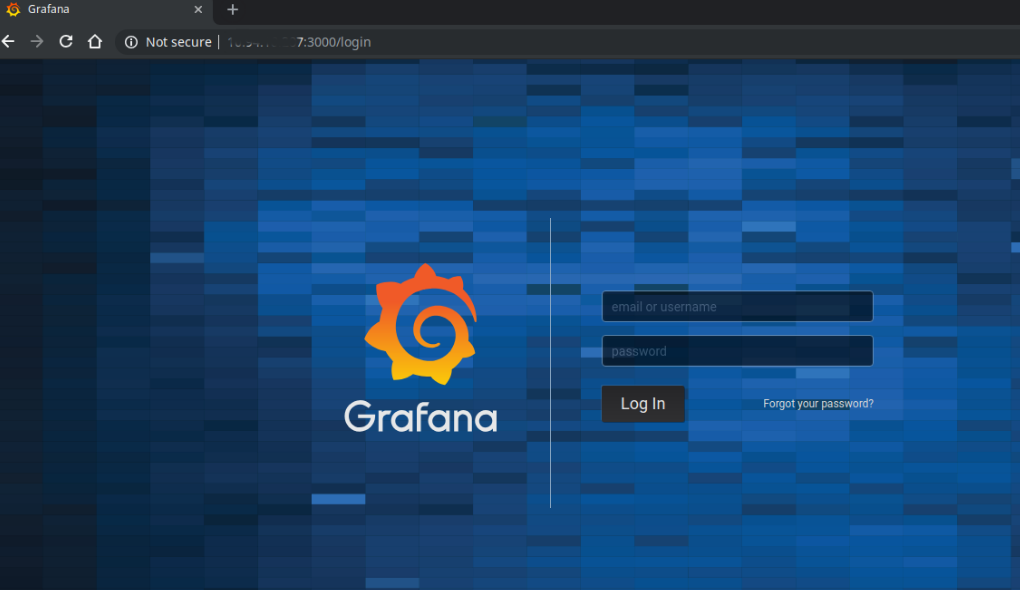
In addition, Grafana is accessed by the URL http://Your Server IP or Host Name:3000/ and enter “admin” in the login and password fields.
How to install Plugins with Grafana on CentOS 7 ?
Additionally, Grafana's functionality can be extended by installing plugins. There are three types of plugins:
i. Panels: new blocks that can be used with the dashboard, such as pie charts or histograms.
ii. Data sources: new storage backends for the time-series data, so we can pull data from other sources.
iii. Apps: complex plugins that bundle data sources and panels within a single package.
[Need urgent assistance to install Grafana? – We're available 24*7. ]
Conclusion
This article will guide you on the steps to #install #Grafana on #CentOS 7 which is a #visualization and #analytics #monitoring software. Grafana is Free and Open Source which Runs on all major #OS operating systems.
This article will guide you on the steps to #install #Grafana on #CentOS 7 which is a #visualization and #analytics #monitoring software. Grafana is Free and Open Source which Runs on all major #OS operating systems.


