phpMyAdmin is one of the most popular applications for MySQL database management. It is a free tool written in PHP. Through this software, you can create, alter, drop, delete, import and export MySQL database tables.
Here at Ibmi Media, as part of our Server Management Services, we regularly help our Customers to perform Packages installation and configuration tasks on their Ubuntu Server.
In this context, we shall look into the steps to PHPMyAdmin on Ubuntu.
Importance of PHPMyAdmin to a Web Application ?
Sometimes, the server administration task includes Database management. However, users may not feel comfortable interacting with the system solely from the MySQL prompt. Here’s the importance of phpMyAdmin that creates so that users can interact with MySQL through a web interface.
Typical operations like management of databases, tables, indexes, permissions, and so on are executed with the user interface.
Some of the features include the following:
i. MySQL database management.
ii. Web interface.
iii. Execute custom SQL queries.
iv. Multiple-server administration.
v. Can import and export data in different formats, including SQL, XML and CSV.
vi. Ability to back up the MySQL databases in manual mode.
How to install PHPMyAdmin on Ubuntu ?
Here, we will install and secure phpMyAdmin so that users can safely use it to manage the databases on an Ubuntu 18.04 system.
As prerequisites, it is necessary to have root access to the server and firewall configured with ufw. LAMP should be installed on Ubuntu 18.04 server.
Importantly, we can install phpMyAdmin from the default Ubuntu repositories.
1. Initially, we update the server’s package index by running the command below.
apt update && upgrade2. Next, we install PhpMyAdmin and PHP extensions for managing non-ASCII string and necessary tools, execute the command given below:
apt install phpmyadmin php-mbstring php-gettext3. While executing the commands, it asks for the webserver selection, we select Apache2 and select ENTER.
4. Also, in the next step, we have the option for automatic setup or to create the database manually. We select the automatic installation by pressing ENTER for yes.
5. In the next step, we set up the PhpMyAdmin password.
6. Again we enable PHP extension by executing the command.
phpenmod mbstring7. Afterwards, we restart Apache for the changes to be recognized with the command below:
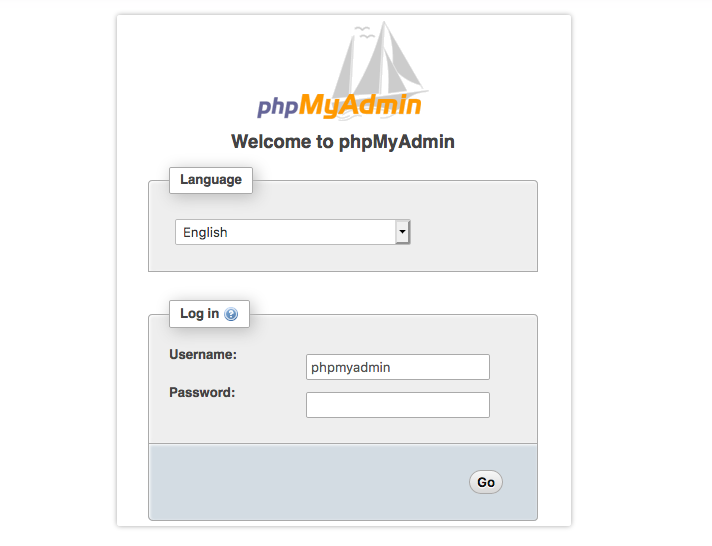
systemctl restart apache2We ensure the PhpMyAdmin installation by going to http://ip_address/phpmyadmin
Where "ip_address" should be replaced by your own server ip address.
[Need urgent assistance to install PhpMyAdmin? – We're available 24*7]
Conclusion
This article will guide you on the process to #install #PhpMyAdmin on Ubuntu. PHPMyAdmin allows users to interact with #MySQL through a web interface and makes MySQL #database #management easier.
This article will guide you on the process to #install #PhpMyAdmin on Ubuntu. PHPMyAdmin allows users to interact with #MySQL through a web interface and makes MySQL #database #management easier.


