Are you trying to create DigitalOcean Space and API Key?
This guide is for you.
DigitalOcean Spaces is an object storage service that makes it easy and cost-effective to store and serve large amounts of data. Individual Spaces can be created and put to use quickly, with no configuration necessary.
Here at Ibmi Media, as part of our Server Management Services, we regularly help our Customers to perform DigitalOcean related tasks.
In this context, we shall look into the steps to create DigitalOcean Space and API Key.
1. How to Create a DigitalOcean Space ?
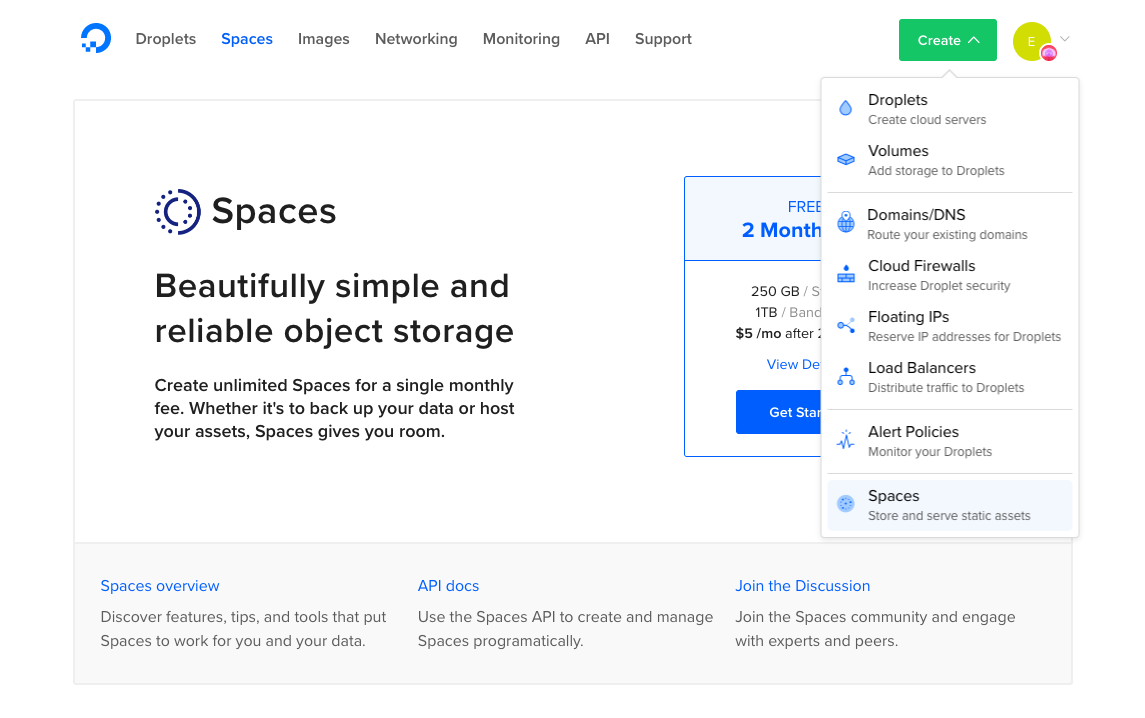
In order to create a new Space, use the Create button in the upper-right corner of the Control Panel.
Then click the button, then choose Spaces from the dropdown.
In case, if there is no space created before, then we can create one directly from the Spaces page.
i. To do so, first, we click ‘Spaces’ in the main navigation of the Control Panel.
ii. Next, we click ‘Create a space’. Either option will take you to the ‘Create a Space’ screen.
iii. After creating a space, first, we choose a name for space. The name must be unique.
iv. Next, we choose the datacenter region like the Space we wish to be in.
v. Finally, we choose whether we want unauthenticated users to be able to list out all files in the space. However, this does not affect access to individual files.
vi. Once the name and options are all set, we scroll down and click the ‘Create a Space’ button. Finally, space will be created.
Note: If this is the first case, then a welcome.html file will be seen in the space. Or else it will be empty.
Also, we must take note of the URL of the space. It will be present under the Space name in the file browser view.
2. How to create an Access Key ?
In order to access the files from outside of the DigitalOcean Control Panel, we need to generate an access key and secret. These are a pair of random tokens that act as a username and password to grant access to Space.
i. First, we click on the API link in the main navigation of the Control Panel. A page appears that lists the ‘DigitalOcean API’ tokens and ‘Spaces’ access keys. We scroll down to the Spaces portion.
ii. Next, we click on the ‘Generate New Key’ button. The ‘New Spaces key’ dialog will pop up:
iii. Then we enter a name for the key. We can create as many keys as we like. But the only way to revoke access to a key is to delete it. So we may need to partition keys by a person, by a team, or by the client software you’re using them in.
iv. After entering the key name, we click on the ‘Generate Key’ button.
v. As a result, it will return an API screen listing all the keys.
[Need urgent assistance with DigitalOcean related queries?- We are here to help you.]
Conclusion
This article will guide you on the steps to create #DigitalOcean #Space and #API Key. You will also see the #server #URL, bucket name (or Space name), access key, and secret. With this information you can connect most any S3-compatible client or library to your new DigitalOcean Space!
This article will guide you on the steps to create #DigitalOcean #Space and #API Key. You will also see the #server #URL, bucket name (or Space name), access key, and secret. With this information you can connect most any S3-compatible client or library to your new DigitalOcean Space!