Are you facing spam emails?
ISPConfig DKIM helps to protect from spam, spoofing, and phishing emails.
Enabling DKIM in the ISPConfig control panel is a simple method and it prevents the emails from unauthorized email senders.
DKIM works by adding a digital signature to the headers of an email message. That signature can be validated against a public cryptographic key in the organization's Domain Name System (DNS) records.
Here at Ibmi Media, as part of our Server Management Services, we regularly help our Customers to configure DKIM on mail servers
In this context, we shall look into the process to enable DKIM in ISPConfig and fix mail server related errors.
More information about DKIM?
DKIM uses "public-key cryptography" to verify that an email message was sent from an authorized mail server. It detects forgery and stops harmful email distribution such as spam.
In addition, DKIM is a form of email authentication. It verifies that an email message was sent from an authorized mail server, and detect harmful emails like spam.
The main advantages of DKIM include:
i. Bypass spam filters.
ii. Avoid phishing.
iii. Improve reputability.
How does ISPConfig DKIM work
It works by adding a digital signature to the headers of an email message. That signature validates against a public cryptographic key in the organization’s Domain Name System (DNS) records.
DKIM is an authentication standard for a domain name that sends an email, to use against spam and phishing.
The server generates and attaches a unique DKIM signature header to the message when a mail message is sent by an outbound mail server.
This header contains two cryptographic hashes, one of the headers listed and one of the bodies of the text. The header also contains information about the origin of the signature.
When an incoming email opens an inbound mail server, it looks up the public DKIM key in DNS for the sender.
The inbound server uses this key to decrypt the signature and compare it to a newly calculated version. The message can prove to be authentic in transit if the two values match.
How we enable DKIM in the ISPConfig control panel?
Recently one of our customers contacted us regarding other servers rejecting his emails. So we recommended enabling the DKIM for his email account.
To enable the DKIM in ISPConfig we follow the below steps:
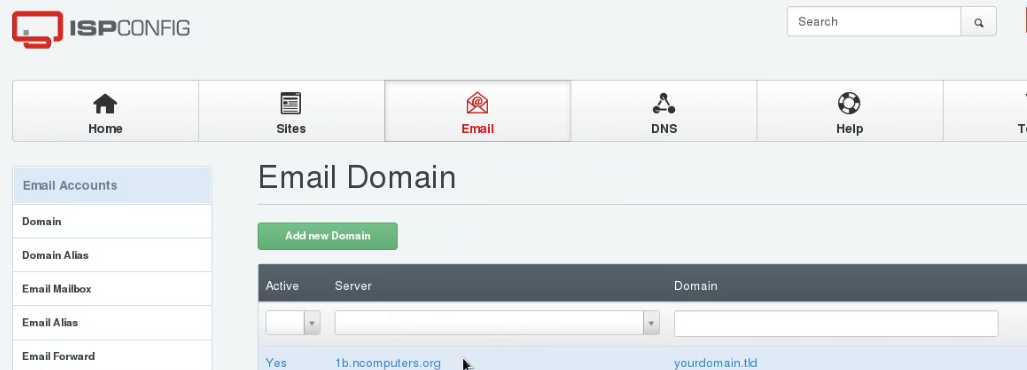
i. Initially, we log in to the ISPCONFIG control panel.
ii. Then we go to the "E-mails" section and click >> domain on which want to perform this operation.
iii. To start the generation of this key, click the button >> DomainKeys Identified Mail (DKIM).
iv. In addition, we check the "enable DKIM" then click Generate "DKIM Private-Key" to generate it.
v. Clicking on the "Generate DKIM Private-key" button automatically fills in the fields "DKIM-Private Key" and "DNS Records".
vi. Finally, click on the Save button.
Now, DKIM records added to the DNS records.
[Need assistance to enable ISPConfig DKIM? We'll help you. ]
Conclusion
This article will guide you on how to enable #DKIM on ISPConfig control panel. DKIM is an authentication standard for a domain name that sends an email, for use against spam and phishing.
It's possible to have more than one DKIM key published in your #DNS records. So, the DKIM selector is important for ensuring that your emails can be properly authenticated. The <selector> field specifies which DKIM key you're using, and the <header domain> field is filled with your domain name.
To generate DKIM Record in #ISPConfig:
1. Login to ISPConfig.
2. Click on Email.
3. Inside Email Accounts >> Select Domain and click on Mail Domain name.
4. Click on #DomainKeys Identified Mail (DKIM).
5. Tick Enable DKIM and Click on Generate DKIM Private-key Button.
6. Copy #DNS Record and add it to your DNS with its DKIM Selector.
7. Click on Save Button.


