Are you trying to install a module in DNN ?
This guide is for you.
There are many modules available to extend the functionality of your DotNetNuke website, some of the modules require you to purchase them from websites.
By installing new modules on the DNN page we can add extra features to the website.
Website owners mainly use this DNN application due to the portal based architecture. This allows running many sites on just one DNN installation.
Moreover, DNN provides the capability for multiple users with different permission levels to manage a website or a section of the content.
Here at Ibmi Media, as part of our Server Management Services, we regularly help our Customers to add a module on the DNN page.
In this context, we shall look into steps to install a module in DNN.
How to install a module on the DNN page ?
Recently, one of our customers approached us to add a module on the page. Now, let's see how to add the module for our customers.
1. Initially we log in to the DNN site as a host or superuser account.
2. Then select the Settings option from the DNN persona bar.
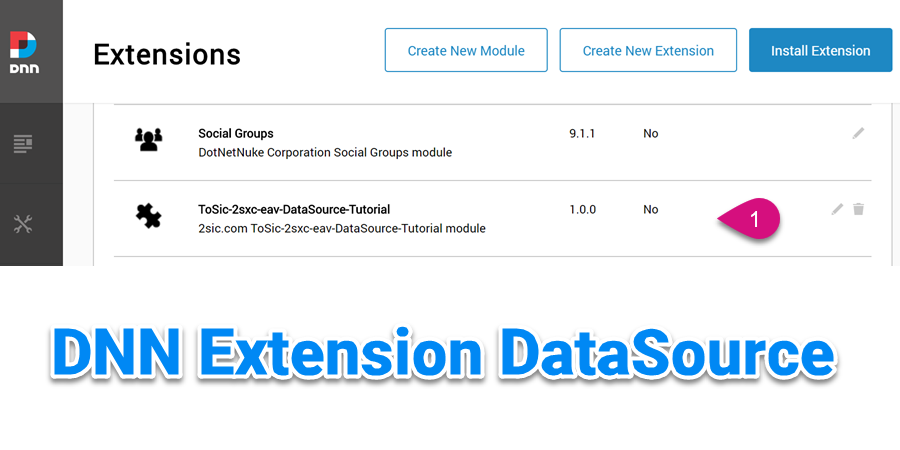
3. After that, we select the Extensions option from the Settings.
4. Then click on Click on Install Extension option.
5. We upload the zip file containing the extension package.
6. On the next page, it displays package information and it includes the extension’s version, description, and information about the creator.
7. Then we click the Next button on the pages. It gives information about the Release Notes and the current release of the extension.
8. After that, we tick the Accept the license option to continue.
9. Then the Package Installation Report displays the log of actions performed by the installation.
Finally, we verify that the module is installed or not by checking the module in the list under the Installed Extensions tab.
What is Create New Module option?
This option is to create a new module manually. Through this, we upload the custom module. However, we recommend this method for only experienced DNN module developers.
Because if we don't create the module properly then the site may break. So we only recommend this method for experienced persons in DNN or else you can contact our Support Engineers anytime for any further assistance.
To create the new module we recommend the below steps.
1. Initially we log in to the DNN site as a host or superuser account.
2. Next, we select the Extensions from Settings option from the DNN persona bar
3. Then we click on Create New Module option.
4. After that in the Create New Module From select the New from the drop-down list.
5. In the Owner Folder select the folder to use for the Module Development and in the Module Name option enter a friendly name for the module.
6. In the Module Folder select a folder where the module files and folders are populated.
7. Then in the File Name enter the name for the new module and in the Description provide the description about the module.
8. At Language, select either C Sharp or Visual Basic as the language used for this module.
9. Make the Add a test page option to On mode to add a test page for the new module.
10. Finally, we click on the Create Module Button.
[Need urgent assistance to install a module in DNN? – We'll help you. ]
Conclusion
This article will guide you on how to #install a module in #DNN.
To Install / Update a #DotNetNuke #Module:
1. Log into your site as either HOST or another supersuser level account.
2. Open Settings -> Extensions.
3. Click "install extension".
4. Drag and drop the package into the window, or browse to the desired file to upload it.
5. Click Next, accept the license, continue through the install. When finished click on the Return button.


