Need urgent help working with Distribution Lists on Zimbra Mail Server?
This guide is for you.
As part of our Server Management Services here at Ibmi Media, we regularly help our Customers to fix Zimbra related queries.
In this context, we shall look into creating and managing distribution lists on Zimbra mail server.
More information about Distribution lists?
Basically, a distribution list can be referred as a group of mail recipients that is addressed as a single recipient.
Distribution lists are used to send an e-mail to groups of people without having to enter each recipient’s individual address. Thus, an important feature for departments in a company.
For instance, a support department can have their distribution list, one for the sales department, one for billing etc.
The fact about Distribution Lists on Zimbra Mail Server?
Zimbra is among the most used Email collaboration systems. It has proven to be a reliable, scalable open source email solution.
In this article, you will see how to manage, Distribution Lists on Zimbra Mail Server using CLI and from the web interface.
How to Create Distribution Lists on Zimbra mail server?
To create a distribution list using Zimbra command line, simply execute the commands:
$ sudo su – zimbra
$ zmprov cdl support@domain.com
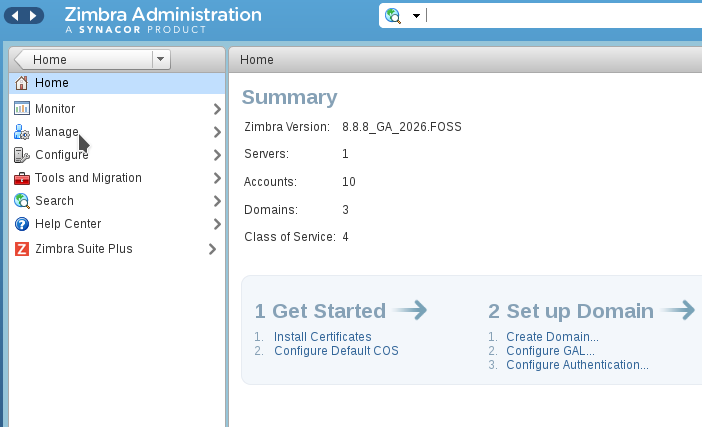
The same can be done on UI by navigating via "Manage > Distribution Lists", click at the top right settings icon, then New.
Start by filling in the name with the domain, optional display name, and description. We can also add members on UI using the Find search box. Check the other details under Properties, Aliases, Member Of, Preferences and fill as we desire.
[Need help to create a distribution list on Zimbra? We are available 24*7.]
How to Add members to a distribution list on Zimbra?
Now that we have created a distribution list, it is time to add members to it. A distribution list without members is useless.
Add members to a distribution list on CLI:
$ sudo su – zimbra
$ zmprov adlm support@domain.com user1@domain.com user2@domain.com userx@domain.com
Add members to a distribution list on Zimbra UI:
We can do the same on UI, if we prefer to work from the UI.
Navigate to "Manage > Distribution Lists > Member", click on the name of the distribution list, Add Members to this list.
On the Search box enter first few letters of the user. Click the name on the results > Add Selected. Once added, the user will appear under List Members page. Once done, click the save button at the top.
How to list Distribution Lists on Zimbra mail server?
To get a list of all added distribution lists on the CLI, execute the command;
$ sudo su – zimbra
$ zmprov gadl
To get a list of distribution lists under a domain, use:
$ zmprov gadl domain.comOn UI.
A list of distribution lists is shown on Manage > Distribution Lists, list of members is found under the distribution list name List Members section.
How to rename Distribution Lists on Zimbra mail server?
We can as well rename a distribution list anytime we want using the command:
$ zmprov rdl support@domain.com support-stuff@domain.comThe above command will rename a distribution list support@domain.com to support-stuff@domain.com.
On the UI interface, we can easily change by clicking on the Distribution list and change the value of List name then save the changes.
[Stuck in between renaming Distribution Lists on Zimbra mail server? We are ready to assist you.]
How to delete a Distribution List on Zimbra mail server?
In case we no longer need a distribution list and would like to delete it, execute the command:
$ zmprov ddl support@domain.comFrom the dashboard, click on the name of the distribution list, then go to settings > Delete.
How to Delete a Distribution List Member?
If we want to just remove a member from a distribution list, we execute:
$ zmprov rdlm support@domain.com user1@domain.comFrom UI click on distribution "list name > List Members > Select member > Remove selected > save".
How to Grant Send As DL permission on Zimbra?
We can grant the sendAsDistList Right to User, Group, Domain or All Users to send as a Distribution List account.
To grant for individual user – usr:
$ zmprov grr dl support@domain.com usr user1@domain.com sendAsDistListGranting for a group – grp:
$ zmprov grr dl support@domain.com grp admins@domain.com sendAsDistListGranting for a domain – dom :
$ zmprov grr dl support@domain.com dom domain2.com sendAsDistList[Need help to create and manage Distribution Lists on Zimbra Mail Server? We are here for you.]
Conclusion
This article will help to create and manage distribution lists used to send an e-mail to groups of people without having to enter each recipient's individual address.
This article will help to create and manage distribution lists used to send an e-mail to groups of people without having to enter each recipient's individual address.


