Although the Hyper-V environment provides the most technologies of high availability and fault tolerance required for running virtual machines, it is prudent to implement traditional ways to back up virtual machine instances.
Here at Ibmi Media, as part of our Server Management Services, we regularly help our Customers to set up backups on Hyper-V Virtual Machines.
In this context, we shall look into the basic requirements for Hyper-V backup solutions and strategies.
More information about Hyper-V Virtual Machines processes?
VMs technologies helps to minimize downtime in various scenarios, but do not provide any disaster recovery options due to human errors, hacker or virus attacks, competitor attacks or similar circumstances.
You can backup virtual machines running on the Hyper-V host using the built-in Windows Server Backup features.
How Does the Hyper-V Virtual Machine Backup Work?
The backup creation is on the Hyper-V host rather than the guest OS, on which VMs are running.
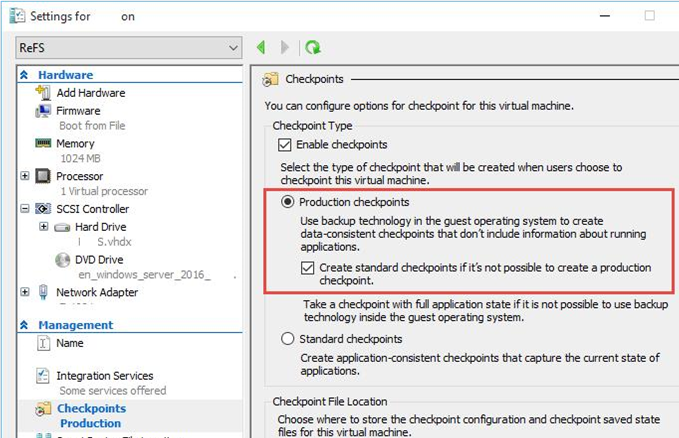
The backup tool instructs the Hyper-V host to create a checkpoint.
After receiving the command, the hypervisor creates some data files, and VM starts saving changes in the files.
Then the backup tool copies the original VM files (no changes are written to them) to the backup media and then deletes the checkpoint.
While deleting the checkpoint, Hyper-V merges the original and delta files, in the meantime, the VM goes on working. And we will be able to recover its state at the point of time we started to backup.
[Need assistance to backup your VM? We are here for you!]
How to perform Backup of Hyper-V Virtual Machines Using Windows Server Backup?
One of the easiest ways to VM backup on Hyper-V is to use the built-in Windows Server Backup(WSB) feature.
We can use WSB via the graphic backup/restore wizard or the wbadmin command-line tool. Windows Server Backup supports VSS and incremental backup.
How to to install WSB component?
Run the following command to install WSB component.
Install-WindowsFeature Windows-Server-Backup -IncludeManagementToolsWindows Server Backup has the GUI console (wbadmin.msc) that allows to create and manage Hyper-V backups.
How to backup a Virtual Machine?
1. Start a simple wizard.
2. Then select the VMs which we want to backup from the Hyper-V server.
3. And specify where the backups are to be saved.
4. Also, we have to specify the backup schedule.
How to backup a Hyper-V VM using the command prompt?
We can backup a VM named "VM Server 1" to a local folder on disk C (or any other disk preferred) by giving the following command:
wbadmin start backup –backupTarget:C: –hyperv:"VM Server 1"Example to back up two VMs and save them to a network shared folder:
If it is an external NAS storage we can run the following command:
wbadmin start backup -backuptarget:\\111.222.2.15\HVMback: -hyperv:"TestVM01,TestVM02" -allowDeleteOldBackups -quietHow to get the list of backups?
We can use the following command to get the list of backups registered in the system:
wbadmin get versionsIt should always be kept in mind that when we backup a VM on the Hyper-V host running Windows 2012 or newer versions the VM is not paused (suspended).
[Need further assistance with Ubuntu queries? We are here for you!]
Conclusion
This article will guide you on how to perform backup of Hyper-V Virtual Machines and how it works.
This article will guide you on how to perform backup of Hyper-V Virtual Machines and how it works.


