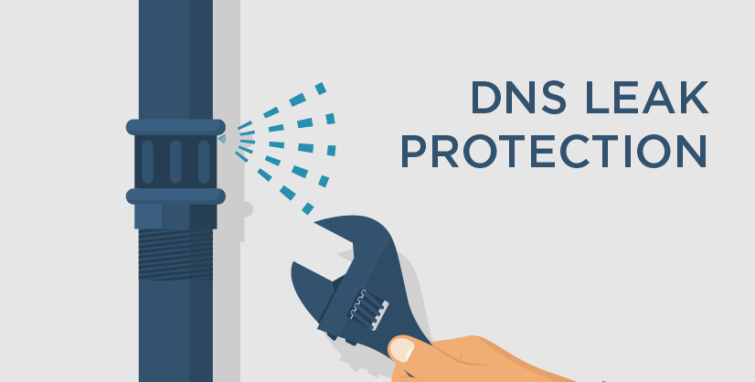
Are you trying to fix OpenVPN DNS leak?
This guide is for you.
Fixing a DNS leak will ensure that once connected to the VPN, the server using ONLY the DNS server's provided by the VPN service.
Here at Ibmi Media, we regularly help our Customers to fix OpenVPN related issues as part of our Server Management Services.
In this context, we shall look into the causes of DNS leak and how to resolve it.
What causes DNS leak ?
OpenVPN has a special behavior in which it will not change the default DNS. It doesn't encrypt the DNS request whereas only encrypts the connection to the Internet. the traffic of the server will be safe from others. However, the DNS request is not protected from others. This is a DNS leak.
OpenVPN should change DNS into its VPN DNS server and can revert into the original DNS. In Linux, it can be done by manually edit the file /etc/resolv.conf file.
So, in order to prevent DNS leak, OpenVPN needs another process. And it will update /etc/resolv.conf automatically.
How to fix OpenVPN DNS leak ?
Now, let us see how to resolve this error.
One of the methods that we follow is given below,
In Linux,
1. Edit The .ovpn File. We add these three lines of config into the .ovpn file.
script-security 2
up /etc/openvpn/update-resolv-conf
down /etc/openvpn/update-resolv-conf
Now the script named update-resolv-conf will update the /etc/resolv.conf file automatically. Therefore, it will force OpenVPN to use default DNS from the .ovpn file.
2. Run The .ovpn File
Then we run the .ovpn File with the below command.
openvpn –config name_of_your_file.ovpn
3. Finally we test DNS leak using any online tool
After testing if it shows the DNS changed other than the ISP DNS. That fixes the issue.
In Windows
Often, windows customers face OpenVPN DNS leak issues due to different reasons like Dynamic IP address. and misconfiguration. If the version is equal to or greater than 2.3.9, the DNS leaks can be prevented by specifying “block-outside-dns” in .conf (or .ovpn) file for the server.
If the version of OpenVPN older than 2.3.9,
1. Set static IP address properties for DHCP before connecting to the VPN.
2. Remove DNS settings for the primary interface after establishing the connection.
3. Switch back to DHCP if necessary or reapply original static DNS servers once the connection is established.
[Need urgent assistance in fixing DNS errors? – We are here to help you.]
How can I test my VPN for leaks?
i. Go to the DNS leak test website.
ii. For VPN check, see if the displayed IP address and location match your real ones.
iii. To check your DNS status, select Standard or Extended Test.
Other methods to fix DNS Leak ?
1. Use a VPN client with built-in DNS leak protection. It is by far the simplest way, but unfortunately, only a few VPN providers supply this option.
2. Use VPN which includes DNS Leak Protection.
3. Change DNS Servers and Obtain a Static IP.
[Need urgent assistance in fixing DNS errors? – We are here to help you.]
Conclusion
This article will guide you on the steps to fix #OpenVPN DNS leak issue.
A DNS leak occurs when the browser sends a #DNS request directly, thus ignoring the #VPN. Although the link will seem encrypted or anonymous, the ISP will be able to track your online.
This article will guide you on the steps to fix #OpenVPN DNS leak issue.
A DNS leak occurs when the browser sends a #DNS request directly, thus ignoring the #VPN. Although the link will seem encrypted or anonymous, the ISP will be able to track your online.


