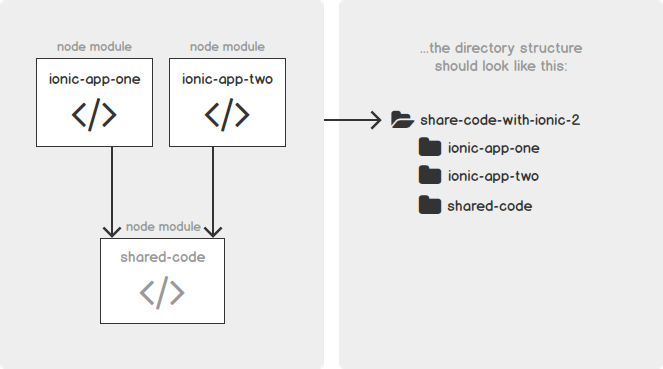
Are you trying to create a Custom Component and Shared Module in Ionic?
This guide is for you.
Creating shared modules allows you to organize and streamline your code. You can put commonly used directives, pipes, and components into one module and then import just that module wherever you need it in other parts of your app.
Here at Ibmi Media, as part of our Application Development Services, we regularly help our Customers to perform App development tasks.
In this context, we shall look into the process to create a custom component and shared module in Ionic App.
About Custom Component and Shared Module in Ionic ?
To create a Shared Module in Ionic Application, follow the steps given below;
1. Create a new Ionic Application
First, we create an Ionic application using the latest Ionic CLI. For that, we use the below command.
$ npm install -g @ionic/cliNext, we create a new Angular Ionic blank application. For that, we run the below command.
$ ionic start IonicComponents blank –type=angular2. Create an ionic custom component
Now, we create a component by running the below command.
$ ionic g component components/headerAfter that, we add the following code in header.component.html
<ion-header><ion-toolbar color="primary"><ion-title(click)="openLanguagePopover($event)" slot="end">{{language}}</ion-title><ion-title (click)="Signin()" slot="end">{{Sign Up}}</ion-title></ion-toolbar></ion-header>Add the following code in header.component.ts
import { Component, OnInit } from '@angular/core';import { Storage } from '@ionic/storage';import { PopoverController } from '@ionic/angular';@Component({selector: 'app-header',templateUrl: './header.component.html',styleUrls: ['./header.component.scss'],})export class HeaderComponent implements OnInit {constructor(public popoverController: PopoverController,public storage: Storage,) { }
ngOnInit() {}
signin() {
this.route.navigateByUrl('/registration');
}async presentPopover(ev: any) {const popover = await this.popoverController.create({component: PopoverComponent,event: ev,translucent: true});return await popover.present();}}3. Create a Shared Module
In order to create a shared module, we make use of the below command.
$ ionic g module modules/sharedWe can declare the components only in one module and their access is inherited in any way. It means if we declare a component in the main app module then we can’t access it in any other module. However, if we wish to use a component in other modules then the best solution to it is to create a shared module.
To access the component we created that is the header component in a different part of the app we need to import it into the shared module like this,
import { NgModule } from '@angular/core';import { CommonModule } from '@angular/common';import { HeaderComponent } from './header/header.component';
@NgModule({declarations: [HeaderComponent],imports: [CommonModule,],exports: [HeaderComponent],})export class SharedComponentModule { }This way, we can import multiple components into the shared module. After importing the components in the shared module we will import the shared module in a page where we want to use the header component like this.
In login.html
<app-header></app-header><ion-content><ion-header><ion-toolbar color="primary"><ion-title >{{LOGIN}}</ion-title></ion-toolbar></ion-header><div><form [formGroup]="loginForm"><ion-item lines="none"><ion-input formControlName="email" type="email" placeholder={{email}></ion-input></ion-item></div><br><ion-item lines="none "><ion-input formControlName="password" placeholder={{password}}></ion-input><ion-icon [name]="passowrdToggleIcon" item-right (click)="togglePassword()"></ion-icon></ion-item></div><a style="padding-top:2% " (click)="forgotpassword() " class="password ">{{forgot}}</a><ion-button (click)="login() " [disabled]="!loginForm.valid " color="primary " fill="solid " expand="block ">{{LOGIN}}</ion-button></form><span class="divider line one-line ">{{or}}</span><span class="already ">{{Don’t have an Account? }}<a (click)="register() " class="small-text ">{{signup}}</a></span></div></div></ion-content>In login.module.ts add the shared module,
import { NgModule } from '@angular/core';import { CommonModule } from '@angular/common';import { IonicModule } from '@ionic/angular';import { LoginPageRoutingModule } from './login-routing.module';import { LoginPage } from './login.page';import { SharedComponentModule } from '../component/shared-component.module';import { ReactiveFormsModule } from '@angular/forms';
@NgModule({imports: [CommonModule,IonicModule,LoginPageRoutingModule,SharedComponentModule,ReactiveFormsModule],declarations: [LoginPage]})export class LoginPageModule { }SharedModule includes components, directives, and pipes that we use everywhere in an app. This module should consist entirely of declarations, most of them exported.
For example, here is an image of how the shared module with the header component will look like on the login page.
[Need urgent assistance with the Ionic Application? – Our experts can help you. ]
Conclusion
This article will guide you on how to create custom components and shared modules in Ionic App.
#IonicModule is an #NgModule that #bootstraps an #Ionic #App. By passing a root component, IonicModule will make sure that all of the components, directives, and providers from the framework are imported. Any configuration for the app can be passed as the second argument to forRoot .
To create a shared module and include that new shared module as an import for the page modules that need the header:
shared.module.ts
import { NgModule } from '@angular/core';
import {CommonModule} from '@angular/common';
import {HeaderComponent} from './header/header.component';
import {IonicModule} from '@ionic/angular';
@NgModule({
imports: [
CommonModule,
IonicModule
],
declarations: [HeaderComponent],
exports: [HeaderComponent]
})
export class SharedModule {}
Then for the home.module.ts
@NgModule({
imports: [
CommonModule,
FormsModule,
IonicModule,
SharedModule,
RouterModule.forChild(routes),
],
declarations: [HomePage]
})
export class HomePageModule {}


