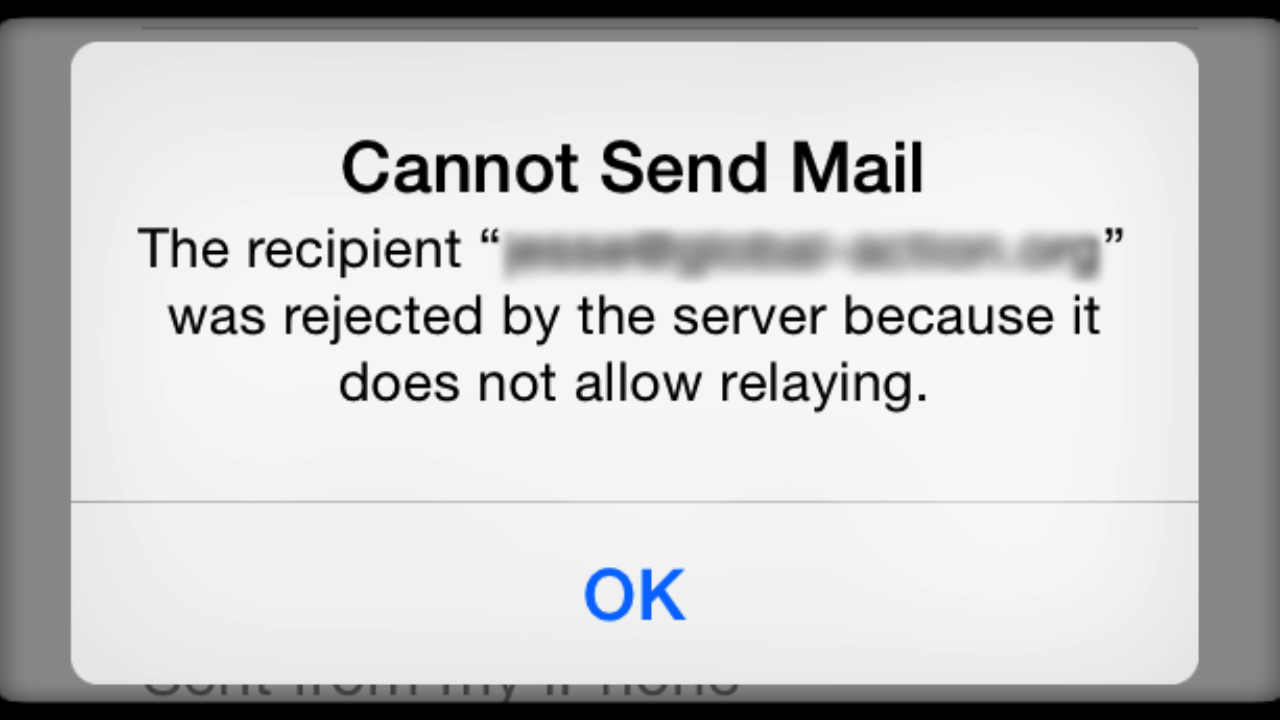
If you're using an iOS device like an iPhone, iPad, or iPod Touch, and you see an error message saying an outgoing message "was rejected by the server because it does not allow relaying", or if you have trouble sending mail but not reading it, this means that your device isn't sending the correct mail username or password with outgoing mail.
Here at Ibmi Media, as part of our Server Management Services, we regularly help our Customers to resolve iPhone or iPad related errors.
In this context, we shall look into ways to get rid of the error "email address rejected by server" error.
Nature of Email address rejected by server error in iPhone ?
Apple devices come with their custom iCloud backup. Most users backup their phone settings to this backup, and restore it when needed.
These backups are useful in cases where users migrate to a new Apple device or when they restore their lost data in existing device.
While the backups work fine in most cases, in certain scenarios, customers report that they get this error when trying to send mails after a backup restore:
"Cannot Send Mail. A copy has been placed in your Outbox. The recipient email address rejected by server because it does not allow relaying."The same error is reported by iPad and iPhone users who configure their emails for the first time in their devices.
In certain cases, an already working mail stops functioning all of a sudden.
Our Customers who report this errors are usually able to download or fetch mails into their mobile devices, and get this error only when trying to send mails.
What triggers Email address rejected by server error in iPhone ?
In our experience handling the error email address rejected by server in iPhone devices, we've noticed these as the major causes.
1. Incorrect mail settings
The major cause for the error ’email address rejected by server’, is the incorrect mail server settings in iPhone.
These includes aspects such as:
i. Wrong mail server name
ii. SMTP server not ON
iii. SSL authentication not turned on
iv. Incorrect SMTP ports
When the iPhone is not able to connect to the mail server at the specified port, it will give out the error:
“Cannot Send Mail. A copy has been placed in your Outbox. The recipient email address rejected by server because it does not allow relaying.”When you configure mails in your iPhone, you need to specify both the incoming and outgoing mail servers associated with that account, along with the username and password.
The iPhone settings show outgoing mail server details as optional, and so many users tend to ignore those fields.
2. Wrong password
Periodic password resets are required for email account security.
But sometimes users forget to update this changed password in their mobile mail settings.
In cases where accounts are migrated or deleted or re-configured, the password may not be updated in the mobile device, and that can lead to email errors.
3. Mail server errors
It may happen that in some cases, the mail server is facing errors accepting connections to its SMTP port.
This can be due to any firewall settings or other email server configuration errors.
4. Software bugs
iOS releases periodic software updates for their devices. Some of these versions such as iOS 11 have some bugs that cause email delivery errors.
5. Incomplete copy of info
When we restore a backup onto a different device some info is not copied over. For example, email password.
So, we need to configure the account again.
We can do it by opening "Settings > Mail, Contacts, Calendars > select the account > account name".
Then tap on SMTP (under the 'Outgoing Mail Server' heading) and then tap on Primary Server.
Then we can try entering email account and password.
How to fix 'email address rejected by server' error in iPhone devices ?
The primary thing to fix is the email settings in the mobile.
The parameters to be checked are:
i. Email account username
ii. Email account password
iii. Incoming and Outgoing server details
iv. SMTP port
v. SSL support
To update the mail settings in iPhone:
1. Go to Settings -> Mail Account settings. In the Account settings, choose "Outgoing Mail Server" section and tap on "SMTP".
2. Enable your Primary Server by tapping on 'On'. Fill in the username and password under Outgoing Mail Server.
3. For SSL settings, 'Use SSL' must be turned on and Authentication set to Password. For SSL, the port is 465. Otherwise, it is port 25.
4. Update the settings by clicking on "Done" and the mails should work fine without errors.
If the device mail settings are fine, but still the error persists, the issue can be related to mail server or due to connectivity issues with the iPhone and the mail server.
We then check the mail server to see if there are any configuration errors, DNS issues, routing mistakes or firewall blocks that could be causing the error, and fix them.
[Need urgent assistance to fix iPhone related errors? We are available to help you today. ]
Conclusion
This article will guide you on methods to resolve "Email address rejected by server" error which happens in iPhone devices mainly due to wrong mail settings.
The recipient was rejected by the server because it does not allow relaying. Chances are you need to check your outgoing mail server settings. Go to Settings - Mail, Contacts, Calendar and tap on your email account. Tap on "Account, then go down to the "Outgoing Mail Server" section and tap on "SMTP."
If you can't send email try the following: On your iPhone or iPod Touch screen tap Settings and then Mail, Contacts, Calendars.
Select your email account from the list, and then select it again on the next screen.
Scroll down to the bottom and tap on the SMTP field under Outgoing Mail Server.
To fix email rejected by server:
1. Go to Settings > Mail > Accounts and select the account you are having difficulty with.
2. Click on your email address at the top of the screen.
3. Go down to the bottom of the screen where it says SMTP and click on it.
4. Select the Primary Server at the top of the screen.